
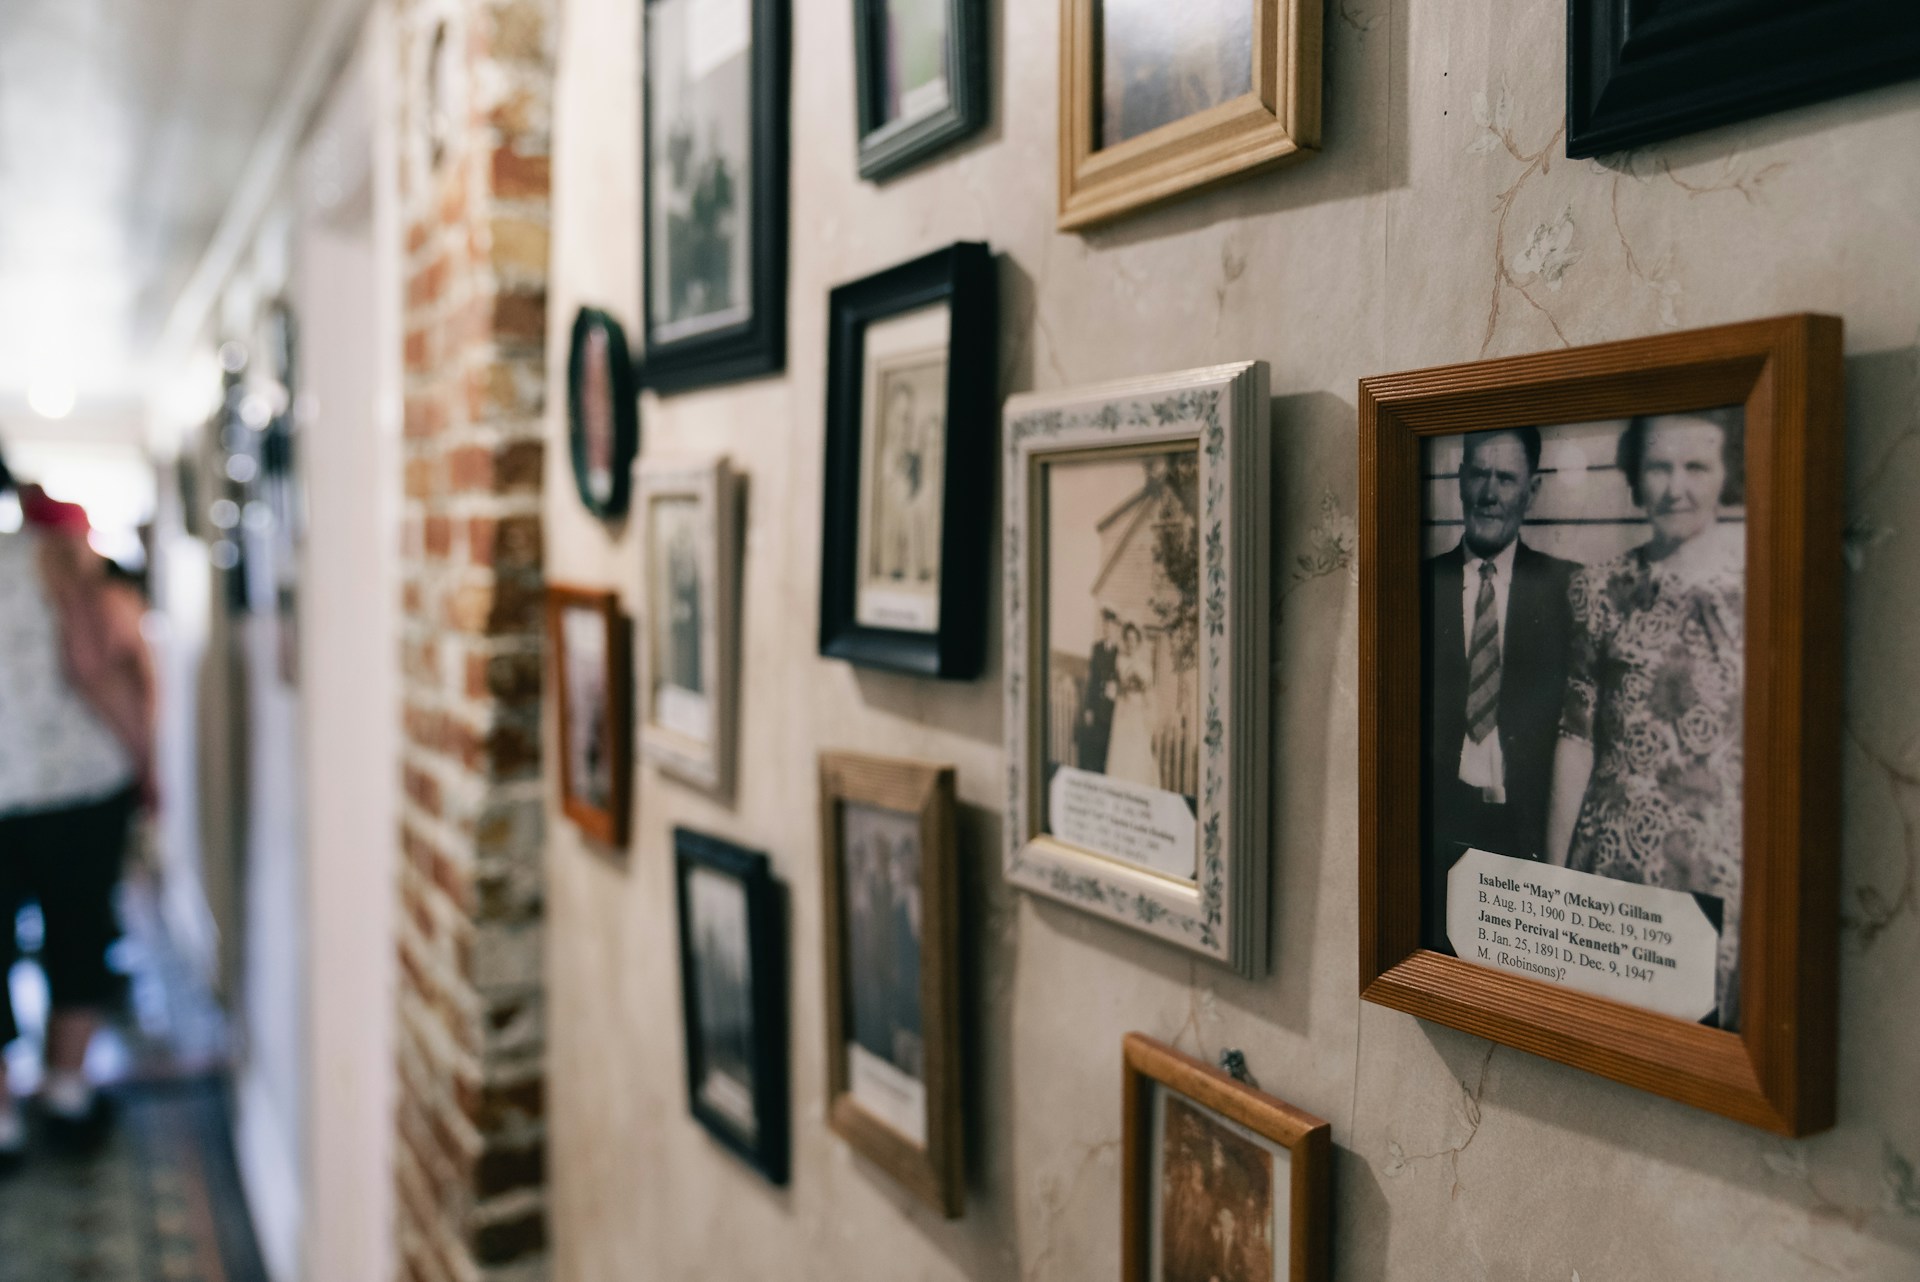
How to Create a Family Gallery Wall That Feels Like Home
Your favorite vacation photograph is still on your phone, a child’s painting sits in a drawer, and the living room wall is waiting for something more personal than another matching print.
Bringing those pieces together can be a manageable weekend project. You do not need identical frames or a collection large enough to fill the hallway. Start with a few things you genuinely enjoy seeing, then arrange them around the room you already have. The aim is a display that belongs to your household, not a perfect copy of someone else’s home.
Choose a Connection Before a Color Scheme
Gather six to eight possibilities before shopping for frames. Include photographs, drawings, postcards, and a handwritten note rather than limiting yourself to professionally finished artwork.
Try a theme that feels natural: ordinary family weekends, places you have lived, or things your children have made. A camping photograph might sit beside a simple drawing of the tent.
Let everyone choose one item and explain why it matters. You may discover that an imperfect snapshot carries a better story than the carefully posed portrait.
Keep a few pieces aside. The first arrangement does not need to include every memory.
Protect the Originals Before Decorating
Photograph or scan fragile items before doing anything else. Keep both sides when a photograph or postcard carries handwriting on the back.
The National Archives recommends displaying copies while keeping originals stored safely because exposure to light can cause fading and other changes.
Use a printed copy of a treasured letter instead of trimming the original to fit a convenient frame. Keep names, dates, and any known background information with the digital file.
Before enlarging a photograph, order or print a small test. Check whether the faces remain clear and whether the crop removes something important.
Store original papers separately from your decorating supplies. Glue, paint, and a crowded worktable do not belong beside irreplaceable keepsakes while you experiment with layouts.
Try the Arrangement Before Making Holes
Measure the available wall, including furniture beneath it and doors that open nearby. Decide whether the display should sit above one piece of furniture or occupy a separate section.
IKEA recommends making paper templates of frames and placing them on the wall to test a gallery arrangement.
Label each template so you can match it to the correct picture. Use a temporary attachment method suitable for your wall finish, testing discreetly first.
Begin with one larger piece, then try smaller frames around it. Leave space between them and compare a tidy grid with a less formal grouping.
View the arrangement from the doorway and your usual seat. Leave the templates overnight before committing to their positions.
Add Words That Sound Like Your Family
One small text print can connect the pictures without turning the wall into a collection of slogans. Try a place name, a family saying, or a sentence explaining an otherwise mysterious photograph.
When humanizing AI drafts for those captions, replace generic sentiment with a detail you actually remember. “Pancakes after the rainy camping trip” says something specific; a paragraph about unforgettable adventures may not.
Keep quotations accurate and ask relatives before displaying private messages. Preserve a child’s original wording when that is part of the charm.
Print a sample at the intended size. Read it from where people will stand, then shorten the wording or increase the lettering if necessary.
Not every frame needs an explanation. Let some images speak for themselves.
Choose Frames and Hanging Methods Carefully
Look through frames you already own before buying a complete set. Try repeating one finish or using similar mats while allowing the pictures themselves to vary. Set a budget for prints, frames, mats, and hardware.
For original photographs and documents, the National Archives recommends suitable preservation materials and a mat or spacers that keep the surface away from the glass.
Choose hanging hardware for the wall surface and the complete frame’s weight. Read the instructions rather than assuming every adhesive strip works everywhere.
Command’s picture hanging guidance, for example, excludes wallpaper, placement over beds, and valuable or irreplaceable items. Follow the specified preparation, waiting periods, and weight limits for the product you use.
Seek help when the fixing method is uncertain. An attractive arrangement should also stay securely in place.
Leave Room for the Next Chapter
Live with the display before filling every gap. Notice which pictures you enjoy seeing and whether furniture or glare makes any difficult to appreciate.
Swap one item when a new drawing or photograph deserves a place. Keep removed prints together so changing the display does not mean losing its history.
Save a photograph of the finished arrangement and a list of frame sizes. Those details will help when you replace a print or move the collection.
You do not need to redecorate the whole room around it. A favorite blanket, familiar chair, and wall of meaningful pieces are enough to make the corner yours.
