
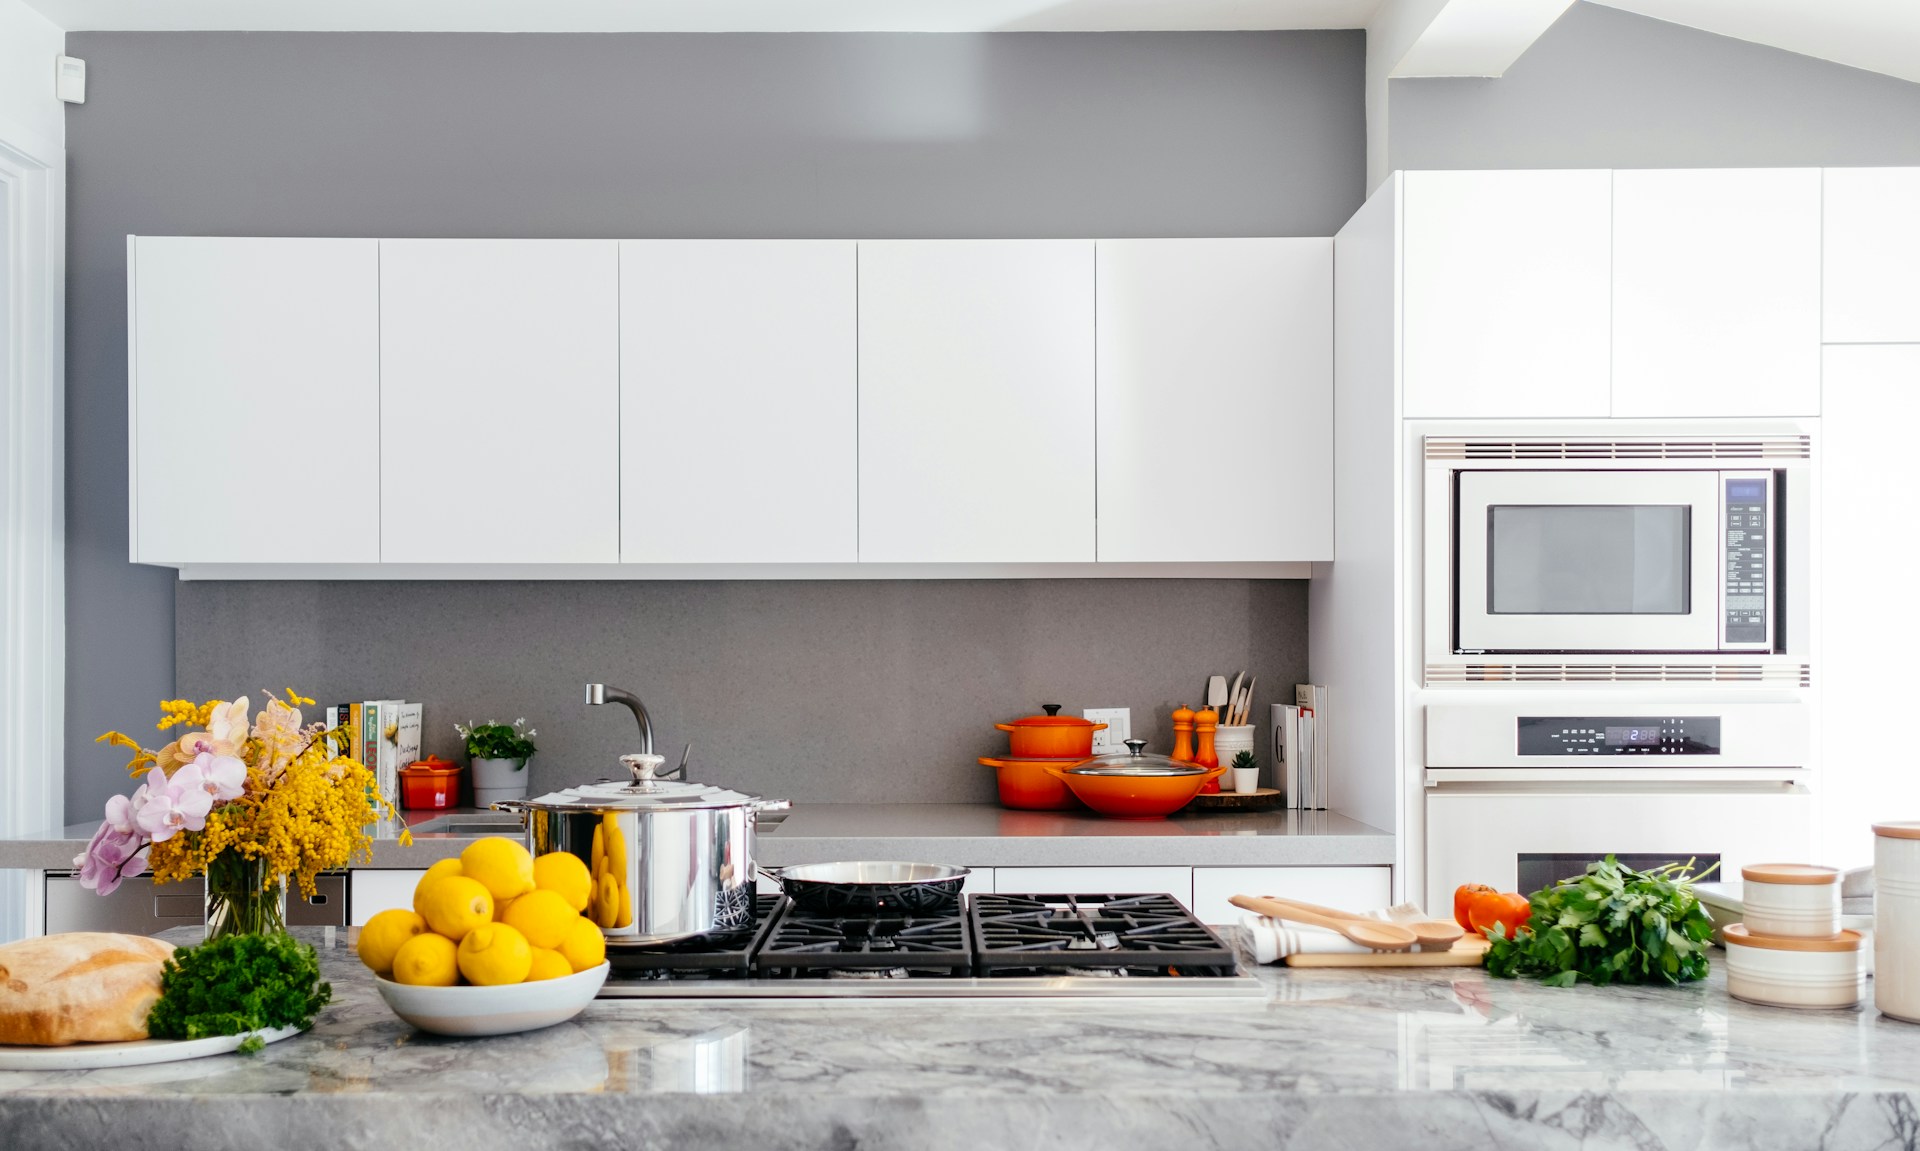
 Showroom kitchens hit different. You walk in, and everything just works. The surfaces look richer. The whole space feels polished. But here’s the thing. It’s rarely about the price tag on the materials.
Most of what makes a kitchen look expensive comes down to decisions. Small ones. Intentional ones. The right finish instead of the trendy one. Proper proportions instead of whatever fits. Surfaces that get along instead of fighting for attention.
That’s what we’re covering here. The actual choices that separate a kitchen that looks expensive from one that just costs a lot.
Materials That Read as Premium
Marble. Everyone knows what it costs. So when people see it, they automatically think expensive. But other materials get the same reaction without the crazy price tag.
Matte finishes are everywhere now. Glossy stuff looks dated. Flat paint on cabinets hides the scrapes and scuffs that happen in a working kitchen. Brushed metal hardware reflects light differently than polished chrome. Softer. More subtle. These small things pile up.
Countertops work the same way. Stone with light veining looks more natural than stone with wild, busy patterns. The eye reads gentle movement as organic. Not manufactured. Quartz that mimics that look gives you the expensive feel for less money.
Honed granite feels completely different from polished. Softer under your fingers. Smoother. Wood grain that runs one direction across cabinet fronts tells you someone paid attention. These are the details people don’t consciously notice. But they feel them. And that feeling registers as expensive.
The Hardware That Changes Everything
You grab cabinet handles every single day. Multiple times. Cheap ones feel hollow and light in your hand. They bend when you pull them open. Over time, they make the whole kitchen feel cheap.
Solid brass is different. You feel it the second you touch them. The weight. The smooth action. They don’t wobble. They don’t flex. The kitchen suddenly feels solid.
Clean lines work with almost anything. Ornate details? They scream a specific decade. Brushed nickel and matte black stay current longer than polished finishes.
One more thing. You don’t need to replace everything at once. Start with the high-traffic cabinets. The ones around the sink. The ones flanking the stove. The ones everyone sees and grabs every single day.
Homeowners considering a larger transformation can explore completed projects and professional guidance at https://aaremodels.com/.
How Lighting Changes Everything You See
That single fixture in the center of the ceiling tries to do everything. It can’t. Harsh shadows everywhere. Colors look washed out. Chopping vegetables becomes a guessing game.
The fix is layering. Under-cabinet strips get rid of shadows on your counters. Pendants add warmth and pull your gaze upward. Dimmers give you options. Bright when you’re cooking. Softer when you’re hanging out.
Battery-powered LEDs are the easiest route. No electrician needed. Stick them up and flip the switch. Your countertops instantly look better. Same counters. Same cabinets. Better light.
Bulb temperature changes everything. Cool light makes wood look yellow. It makes skin look gray. Warm light around 2700K to 3000K makes everything look better. Wood. Stone. Paint. Even your hands while you’re chopping.
Proportions That Feel Right
Scale can make or break a kitchen. An island that swallows the room. Pendants that look like jewelry hanging over a massive island. Backsplash tile that screams for attention while the countertops whisper.
DIY projects fall apart here all the time. A pendant light the size of your fist floating above a ten-foot island. It looks ridiculous. Small subway tile across a huge wall. Busy. Chaotic. Open shelves crammed with stuff. What was the point of taking down the upper cabinets?
Here are the proportion rules that work:
- Pendants should be one-third the width of the island
- Backsplash tile should match the scale of the room
- Hardware should feel substantial, not dainty
- Open shelves should have breathing room between items
These cost nothing to implement but change everything about how the space reads.
The Paint Color That Makes Everything Work
Paint is the cheapest upgrade with the biggest impact. Yet most people pick the wrong color.
White kitchens look clean, but the wrong white reads as cold and sterile. Off-white with warm undertones creates depth. Cream and warm gray offer the same clean look without the clinical feel.
For cabinets, stay away from trends that scream a specific decade. Forest green works. Navy works. Charcoal works. Bright yellow or turquoise dates the kitchen immediately.
Keep your cabinets one color. Two-tone can work, but you need to get it exactly right. Dark lowers with white uppers is the safe play. Anything beyond that tends to look like a mistake.
Prep work determines the result. Clean thoroughly. Sand lightly. Use quality primer. Apply thin coats. Rushed jobs show every imperfection.
Backsplash That Adds Without Overwhelming
The backsplash sits right at eye level. Everyone sees it. It covers a small area, so you can take some risks. But that same visibility makes it dangerous. One wrong choice and you’re staring at it every single day.
Subway tile never goes out of style. Herringbone patterns add interest without screaming for attention. Bigger tiles with fewer grout lines lean contemporary. Skip anything with multiple colors or busy designs. They look old quickly.
Work with your countertop, not against it. You don’t want an exact match. Just something that gets along. If your countertop has gray veining, find a backsplash with subtle gray undertones. Similar, not identical.
Run the backsplash higher on the wall. It creates a more finished look. It also pulls the eye up, which makes the ceiling feel taller.
Flooring That Grounds the Room
Flooring ties your kitchen to the adjacent rooms. Mismatched surfaces break that connection.
Hardwood tops the list for a reason. It brings warmth and fits most styles. Engineered wood handles moisture better than solid. Luxury vinyl plank looks surprisingly good for a fraction of the cost.
Undertone matters more than the specific material. Warm floors pair with warm cabinets. Cool floors with cool tones. Consistency creates that seamless look.
Avoid trendy choices. Wide plank can work. Extra-wide plank looks dated fast. Gray floors are already fading from popularity. Natural wood tones stay timeless.
Storage That Changes How You Cook
Open shelves and glass-front cabinets force you to keep things organized. That organization reads as expensive.
Pull-out drawers for pots and pans. You grab what you need without getting on your hands and knees. Under-sink organizers. Cleaning supplies stay right there but behind closed doors. Pantry containers with clear fronts. You see everything instantly. No more buying a second jar of cumin because you couldn’t find the first one.
These upgrades cost less than new countertops. They also do more for how the kitchen actually works. An easy kitchen looks better. Everything has a spot. Counters stay clear. No clutter anywhere.
- Deep drawers instead of lower cabinets with reach-in shelves. You pull, you see, you grab.
- Pull-out trash and recycling. Mess stays hidden.
- Spice racks near the cooktop. Everything you need is right there.
- Lid organizers. No more stacking chaos every time you open a cabinet.
What Not to Do
Some upgrades actually make a kitchen look worse.
Painting cabinets without prepping first. Peeling paint. Chipped edges. Looks cheap, not expensive. Hardware that clashes across the kitchen. Looks like you grabbed whatever was on sale. Lighting that’s either blinding or useless. Wrong mood every time. Matching everything perfectly. Showroom vibe. Cold. Uninviting.
Cohesion beats perfection. A kitchen that looks lived in but well cared for. That’s the sweet spot.
When Small Upgrades Stop Making Sense
Sometimes the kitchen needs more than a refresh. Layout problems that make cooking difficult. Cabinets that are falling apart. Not enough storage for your actual life.
Small fixes over big problems. You’re just throwing money away. Painting cabinets that are falling apart. New countertops on a kitchen that doesn’t flow. None of that fixes what’s actually broken.
When multiple major surfaces need replacing, do them together. Higher upfront cost. Lower overall spend. You get one project instead of dragging it out over years.
FAQ
A few questions keep coming up when people start pricing out kitchen updates.
What gives you the most for your money?
Cabinet hardware and lighting. Battery-powered LED strips cost under $50. Solid metal handles feel nothing like cheap hollow ones. These two changes alone transform the room.
Will a small update add value when I sell?
Yes. Recent data shows a minor kitchen remodel recovers roughly 96% of its cost at resale. Painting cabinets and swapping hardware rank among the highest ROI improvements.
Can open shelving work in a tiny kitchen?
Yes. It actually makes small spaces feel bigger. Just keep the displays intentional. A few well-chosen items. Not a crowded mess.
Which comes first, countertops or cabinets?
Look at the condition of both. Sound cabinets with ugly doors? Paint them and save the countertop budget for later. Falling apart or poorly laid out? Fix the cabinets first.
What’s the lighting setup that actually works?
Three layers. Ambient for overall light. Task for prep areas. Accent for warmth. Under-cabinet strips handle the task layer. Pendants do the accent work. Dimmers tie it all together.
Final Thoughts
Nobody accidentally ends up with a kitchen that looks expensive. It takes thought. Decisions about materials, scale, and the finishing touches pull everything together. Here’s the thing. Most of those decisions don’t require a complete demolition. Identify the worst offender and deal with that. Then tackle the next one. Every improvement makes the next one easier.
