
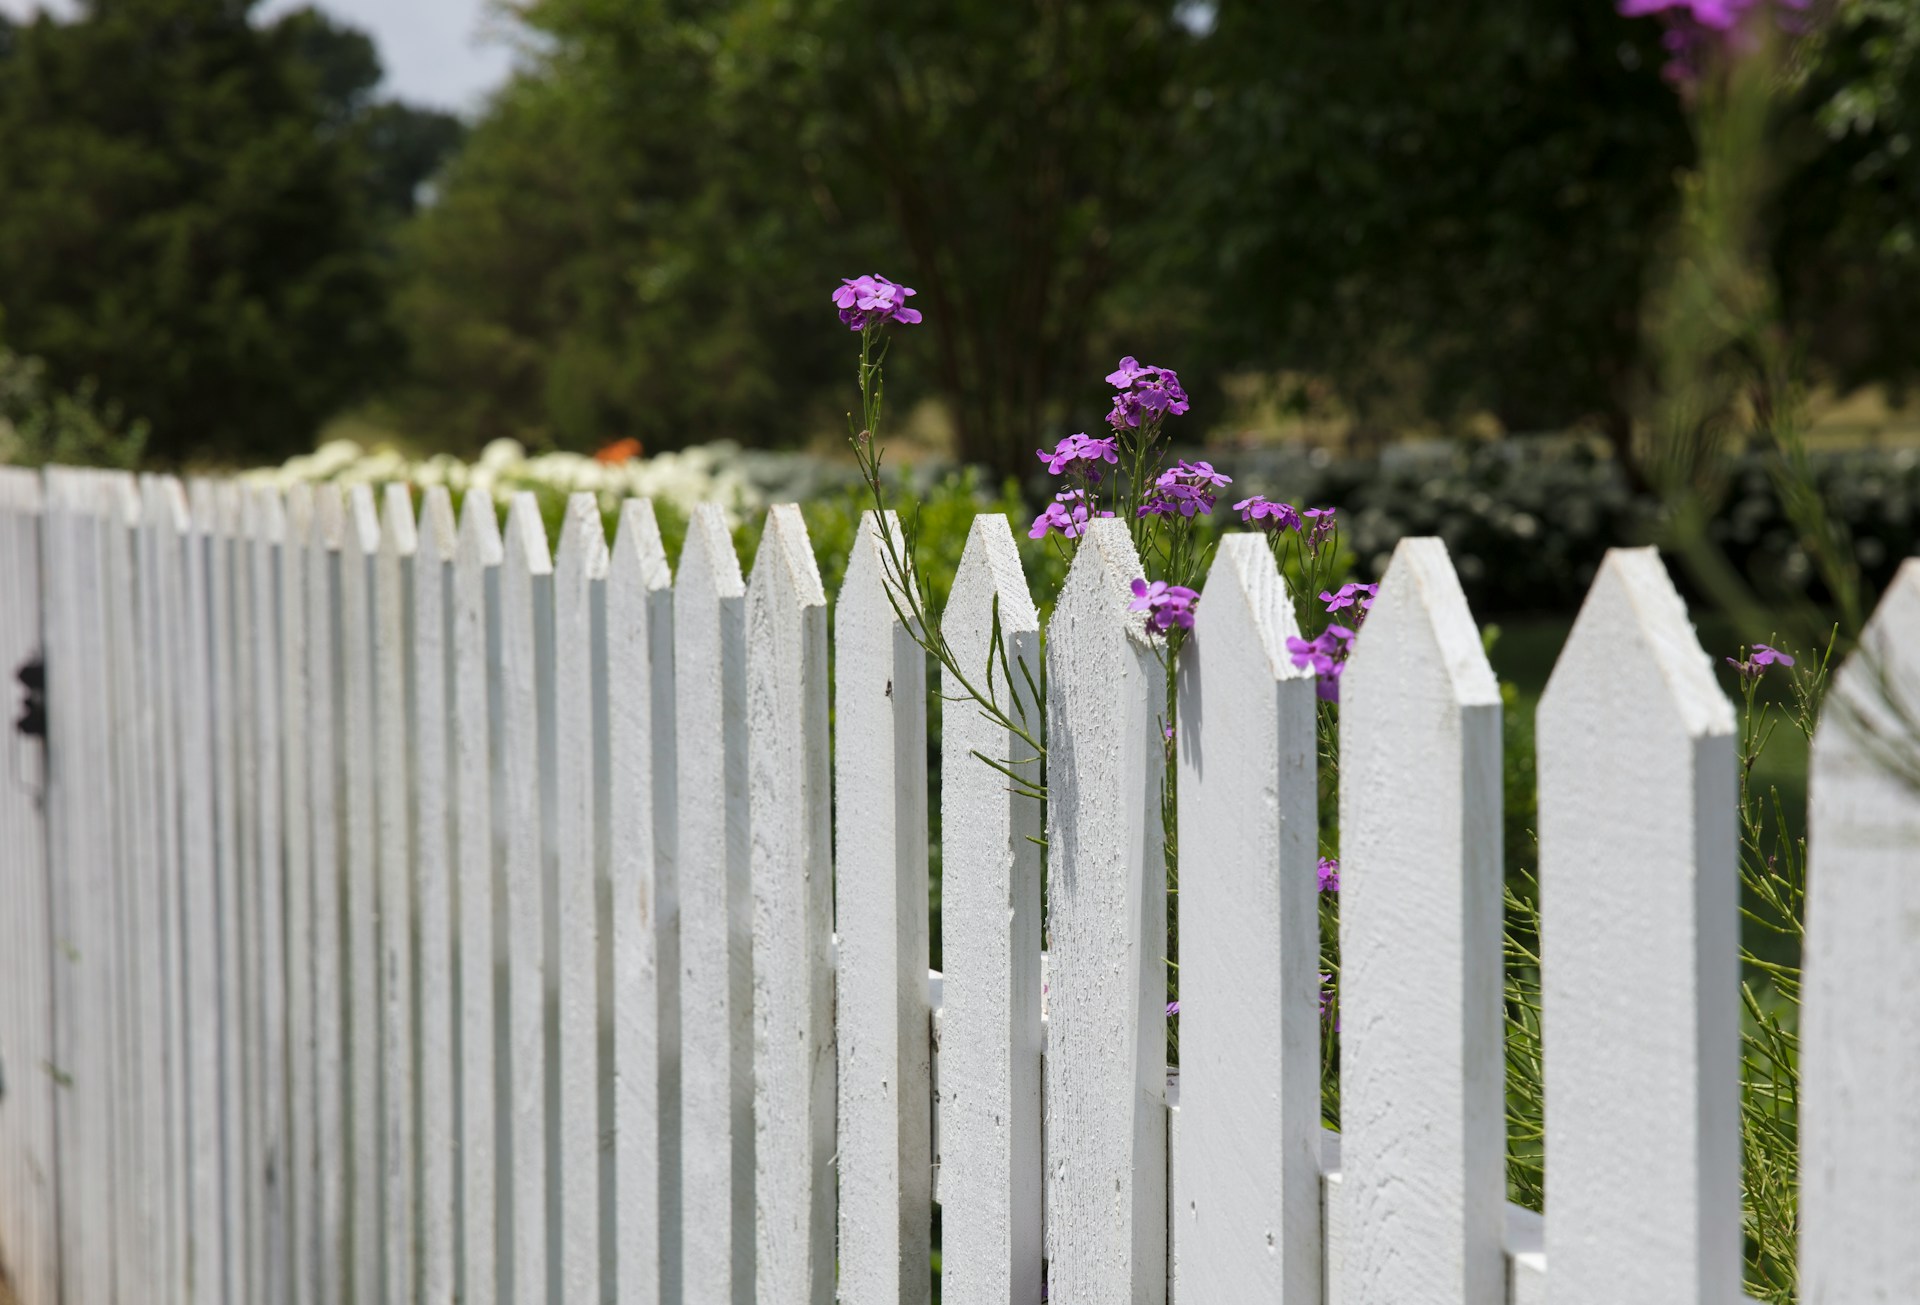
A new fence can change the way a yard looks and works almost overnight, adding privacy, a safe place for kids and pets to play, and a clean, finished edge to the property. Because it’s also a sizable investment that’s meant to last for years, it pays to plan ahead. So, what should homeowners know before a fence installation?
Before installing a fence, confirm your property lines, check permit and HOA rules, call 811 to mark buried utilities, and choose a material that suits your climate, budget, and how much upkeep you want to do.
Those are the basics, but each one comes with details that are easy to overlook. Missing even one can lead to delays, extra costs, or a fence that has to come down and go back up. These tips walk through what to sort out before the first post goes in the ground.
1. Know Exactly Where Your Property Line Is
It’s tempting to line up a new fence with an old one or with the edge of the lawn, but neither is a reliable guide to where a property actually ends. Older fences were sometimes built a few feet off the line, and landscaping rarely follows a survey.
Check the plat map or survey from the home purchase, and if there’s any doubt, have a licensed surveyor mark the corners. It’s also smart to talk with neighbors before building. A quick conversation about plans, height, and which side of the fence will face their yard can prevent disputes later.
2. Check Permits, Setbacks, and HOA Rules
Many cities and counties require a permit for new fences, especially taller privacy fences, and most limit how high a fence can be in front yards compared with backyards. Some also require fences to sit a set distance back from sidewalks, streets, or property lines, and corner lots often have extra rules to keep sightlines clear for drivers.
Homeowners associations can add another layer. HOA guidelines may specify approved materials, colors, styles, and heights, and many require written approval before work begins. Getting those approvals in hand first avoids the expensive scenario of removing or rebuilding a fence that doesn’t comply.
3. Call 811 Before Anyone Digs
Fence posts go deeper than most people expect, and gas lines, water lines, and buried cables can sit closer to the surface than anyone would guess. In the United States, calling 811 or submitting a request online a few days before digging gets public utility lines marked for free.
Keep in mind that 811 typically marks only public lines. Private lines, such as sprinkler systems, wiring to a detached garage, or lines to outdoor lighting, may need to be located separately. Knowing where everything runs keeps the project safe and helps the installer plan post locations around it.
4. Choose a Material That Fits Your Climate and Lifestyle
Each fence material has its own strengths. Vinyl is popular for privacy because it doesn’t need painting or staining and won’t rot. Wood offers a warm, classic look and plenty of style options, though it needs periodic sealing or staining to hold up. Ornamental iron and aluminum provide security and an elegant look without blocking views, while chain link remains a practical choice for simple containment.
Climate plays a big role in that choice. In areas with strong winds, heavy snow, or hard freezes, the right material and post setup matter more than ever. It also helps to be honest about upkeep. A homeowner who doesn’t want to spend weekends staining boards will likely be happier with a low-maintenance option, even if the upfront cost is a little higher.
5. Think About How the Fence Will Be Used
A fence built to keep a large dog in the yard has different needs than one meant to frame a front garden. Height, gaps between boards or pickets, and how close the bottom of the fence sits to the ground all affect whether it does its job. Pool areas often have their own safety rules for height and self-closing gates, so check local requirements if a pool is part of the plan.
Gates deserve some thought too. Consider where people will walk, whether a mower, trailer, or garden cart needs to fit through, and whether a double gate would make sense for a side yard. Planning gate locations early is much easier than adding them later.
6. Don’t Underestimate the Value of a Proper Install
A fence is only as good as the posts holding it up. Posts need to be set deep enough for the soil and frost line, spaced correctly, and secured so they don’t shift or lean after a few seasons. Gates need to be hung so they swing freely and latch without sagging, and the whole line needs to follow the property’s slope in a way that looks intentional.
That’s why many homeowners choose professional fence installation over a weekend DIY project, particularly for longer runs, sloped yards, or taller privacy fences. An experienced crew can handle measuring, material selection, layout, and the final walk-through, and they’re usually familiar with the local soil and weather conditions that affect how long a fence lasts.
7. Prepare the Yard Before Installation Day
A little preparation helps the project run smoothly. Clear the fence line of furniture, planters, toys, and anything stored along the property edge. Trim back shrubs or branches that could get in the way, and mark sprinkler heads so they don’t get damaged.
If pets usually spend time in the yard, plan to keep them inside while the crew works. It’s also a good idea to confirm access to the backyard, including gate codes or side-yard clearance for equipment.
Plan First, Then Build a Fence That Lasts
A fence installation goes smoothly when the details are settled before work begins. Start by pulling the property survey and checking local permit and HOA rules this week, since those answers shape every other decision, from height and material to where the gates should go.
