Are you looking for some inspirations to decorate your Easter eggs? Don’t search anymore. Check out these 6 easy and simple Easter egg decorating ideas!
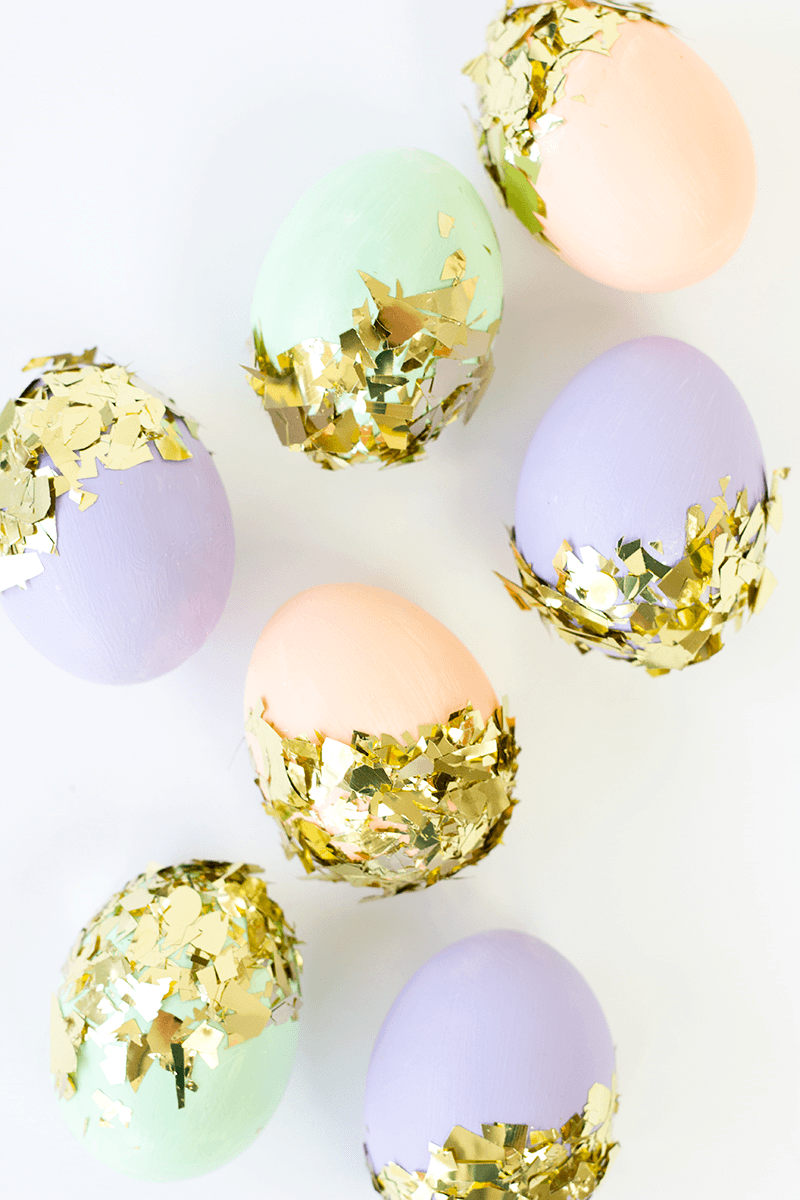
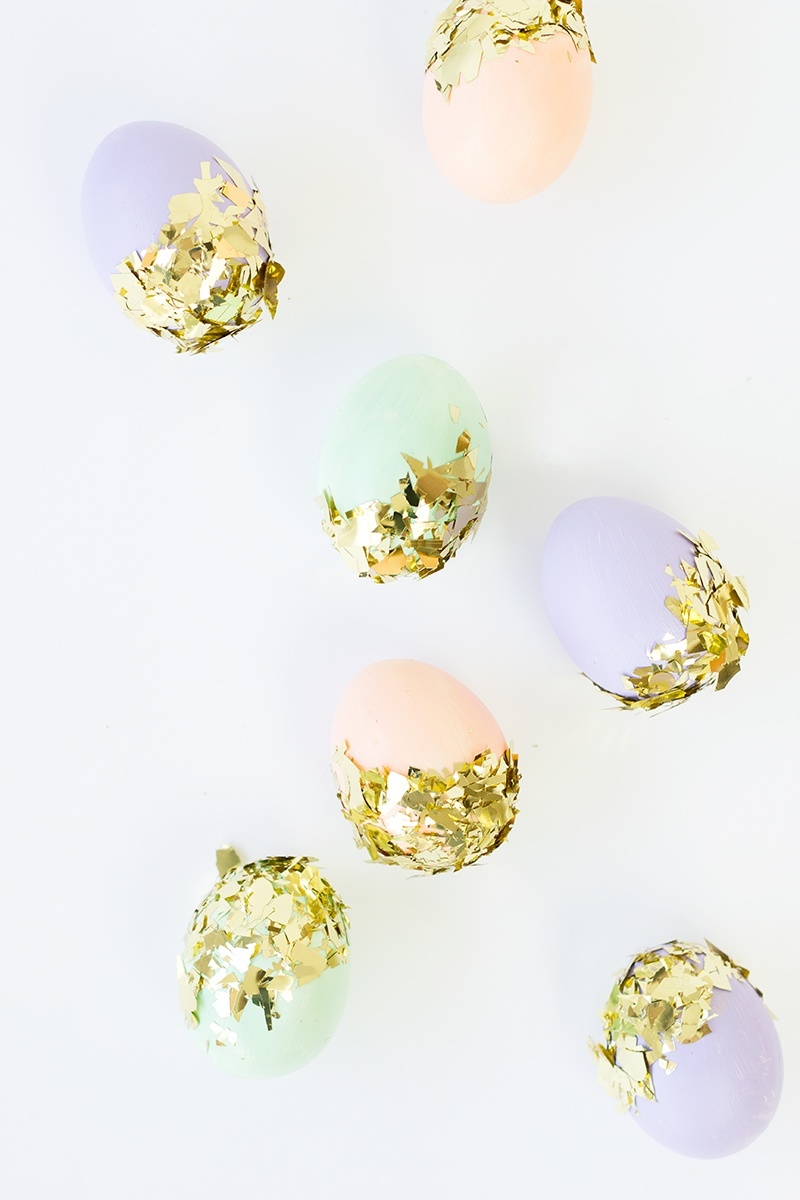
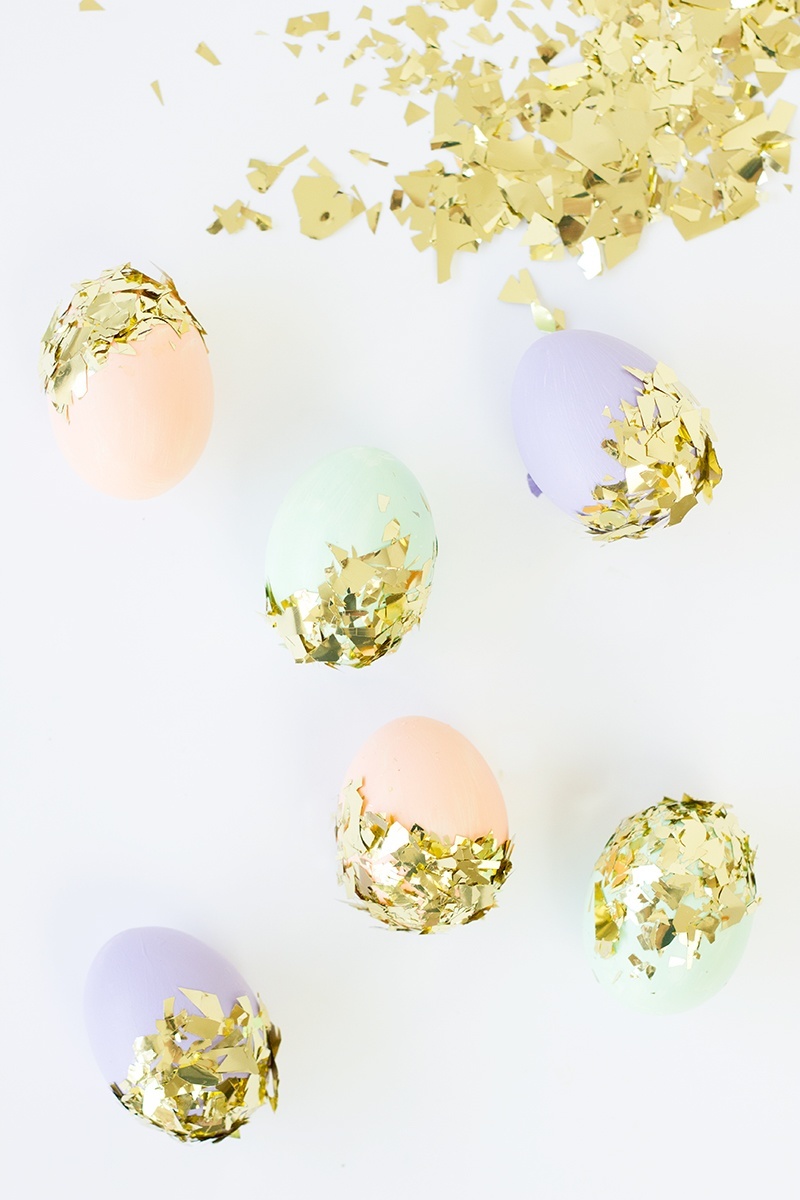
1. Confetti Dipped Easter Egg
Purple? Green? These are the perfect colours for the Easter! What would you say about confetti? No, confetti isn’t only for the New Year’s Eve.
Just have a look at confetti dipped Easter eggs and you will fell in love with this simple and effective idea.
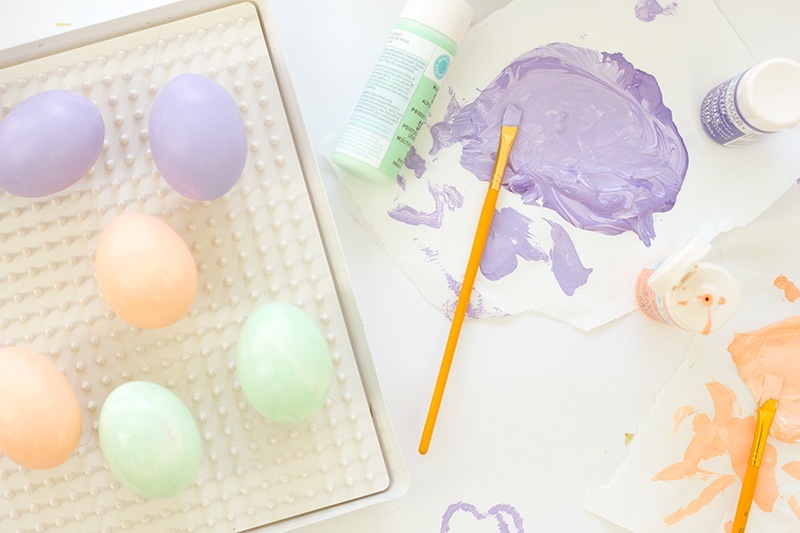
First you gotta paint those eggs! Let them dry completely.
What do you need
- Eggs, Hard-boiled or Hollowed Out
- Craft Paint
- Paint Brushes
- Drying Rack (it’s optional, but it makes life easier)
- Decoupage Glue/Mod Podge
- Foil Confetti
When the eggs are dry, use a clean coat of mod podge and apply it to the part of the egg which you will cover later in confetti. Then sprinkle the confetti immediately over the mode podge. Do it until you cover the whole part.
And let it dry completely again.
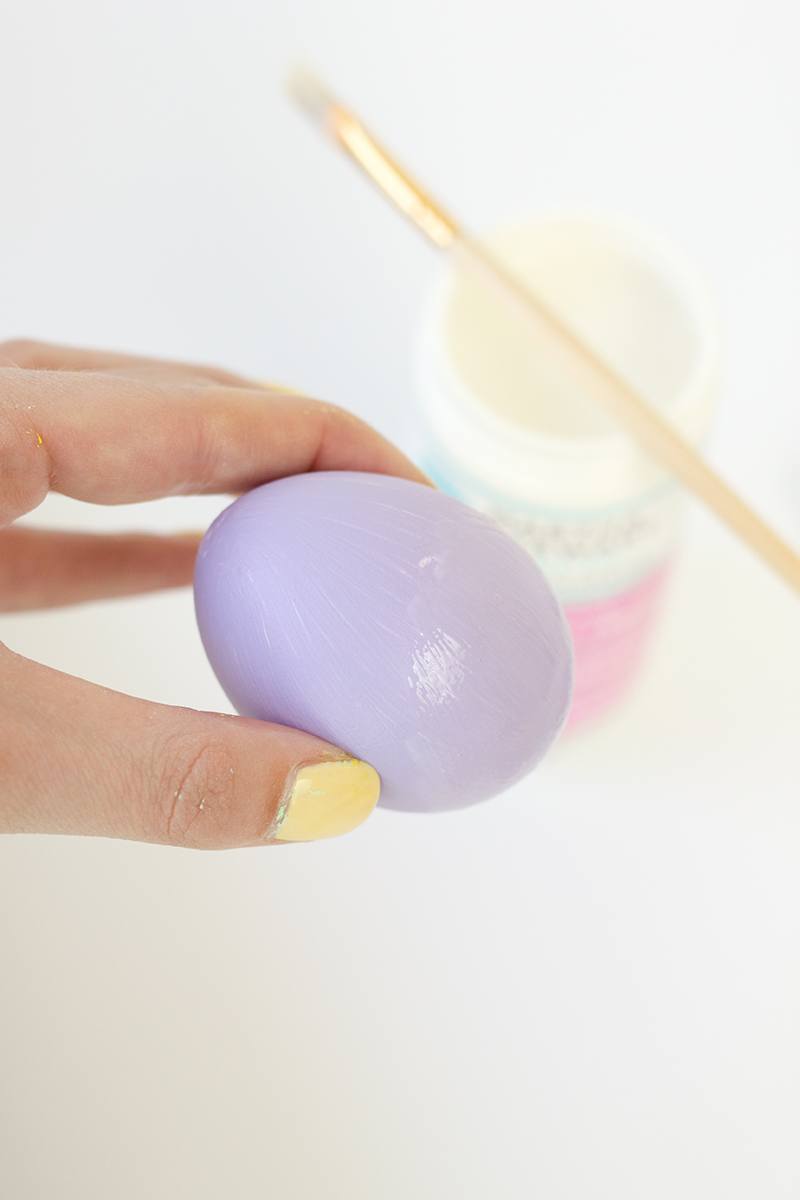
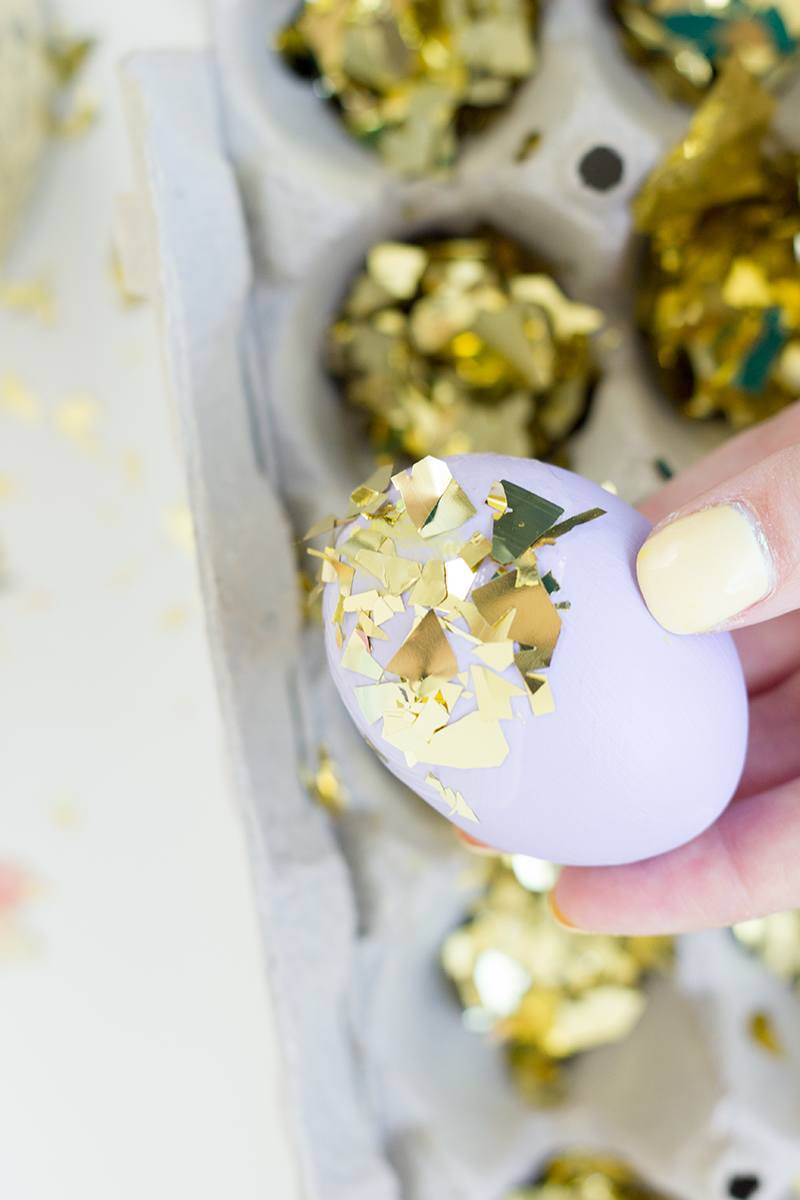
And this is how it looks like! Isn’t it amazingly simple? 🙂
2. Hand Drawn Easter Eggs
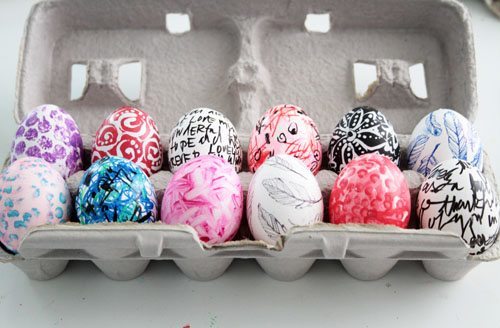
Who says Easter eggs need to be dyed or painted?! Check how to utilize everyday things that everyone have on hand to decorate a dozen eggs!
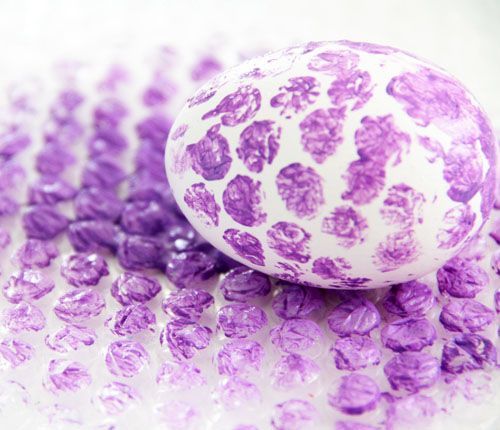
bubble wrap
Bubble wrap can be used create an interesting surface! Simply cover the bubble wrap in paint.
1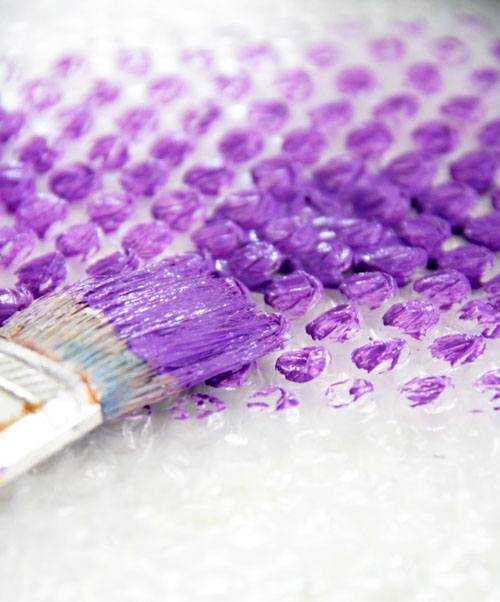
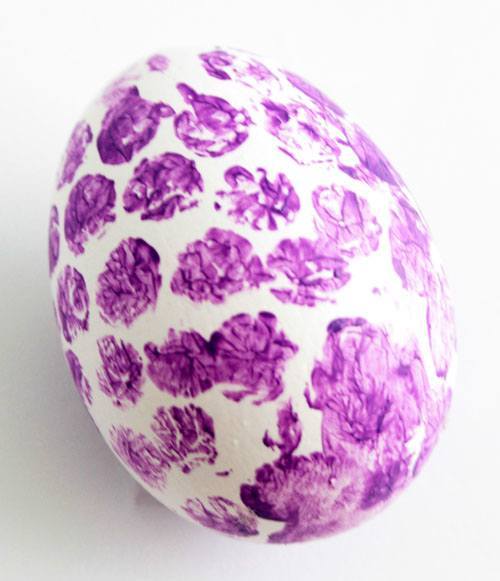
Roll the egg across the surface… and it’s done!
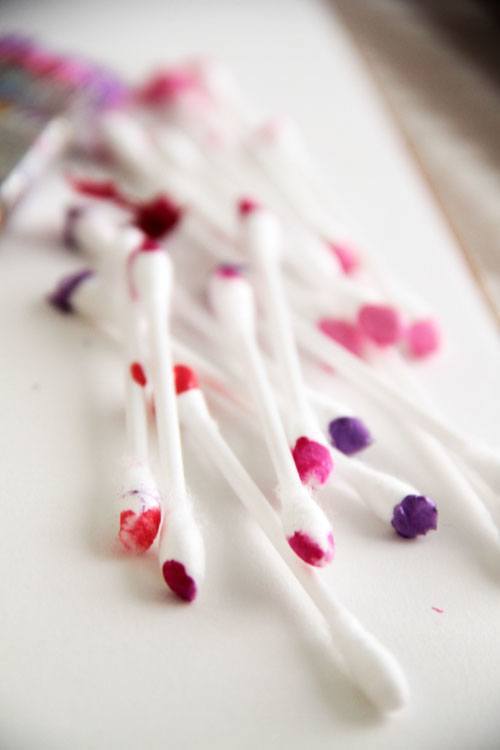
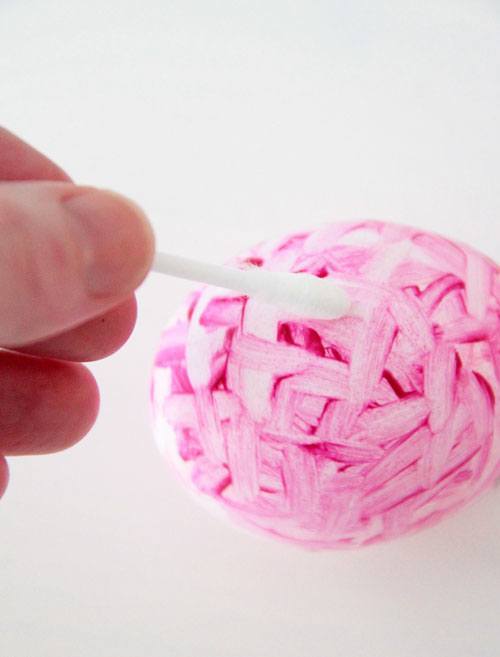
q-tips
Q-tips? They are wonderful to use in all sorts of projects. You can dip them in paint and use to add polka dots OR use them to pull paint away from a surface.
Covered your egg with a light layer of acrylic paint and then use q-tips to move around the paint and pull paint away from the surface to create a design. Simple!
white it out
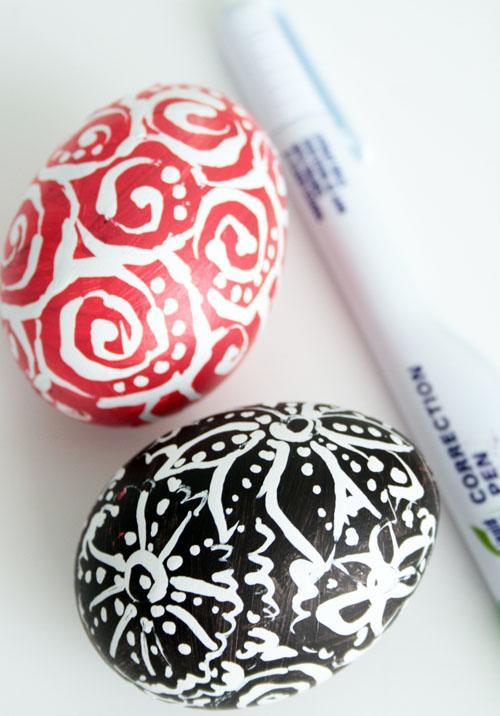
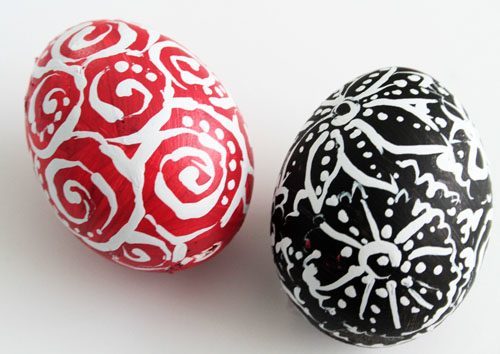
Why not use white out pens on the surface of the egg? Started by painting the eggs with acrylic paint and then doodle over the top with a white out pen.
journal
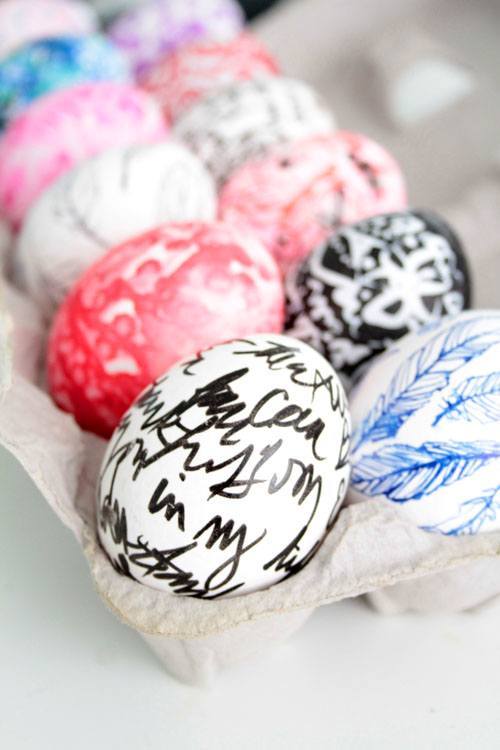
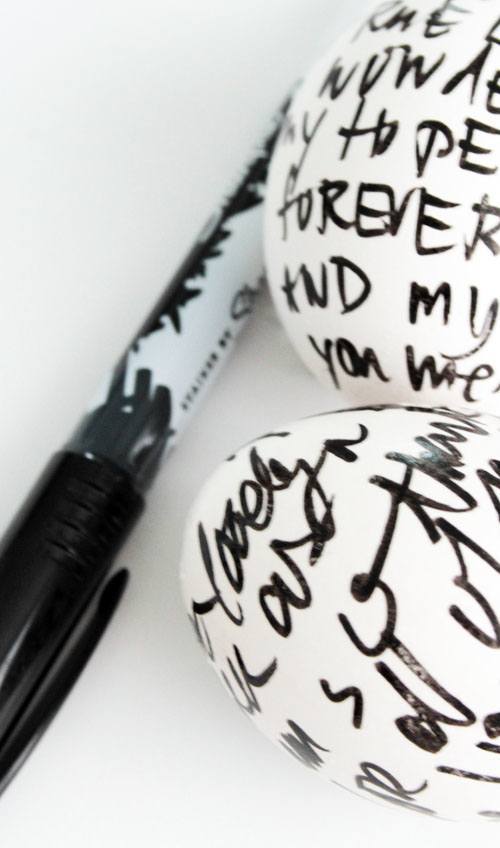
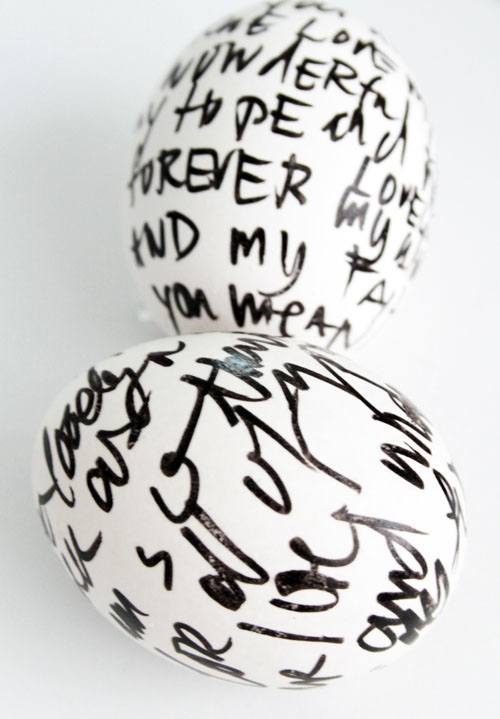
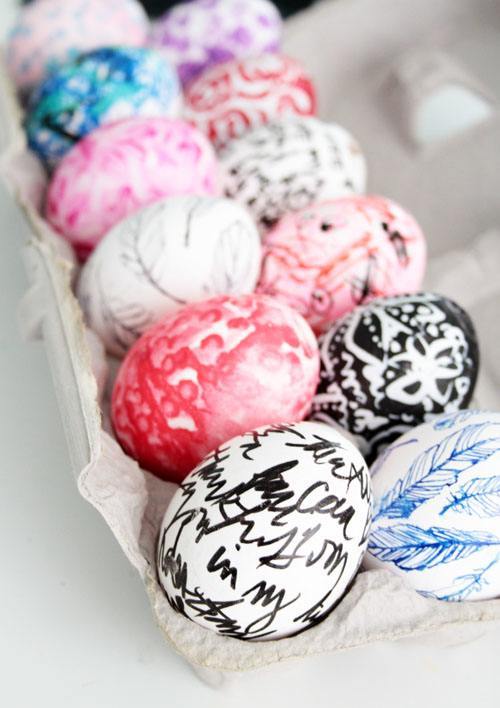
Using simple lettering and handwriting can be a great idea to add to your creative project. Use a sharpiepen I journal all over the surface of the egg.
scribble
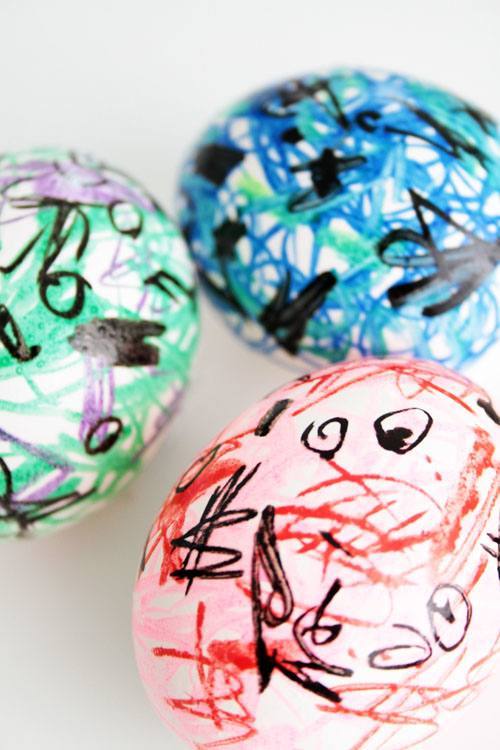
Use colorful scribbles with permanent marker to cover the surface of eggs.
ball point pen
Use ball point pens from the junk drawer to sketch all over the surface of your eggs.
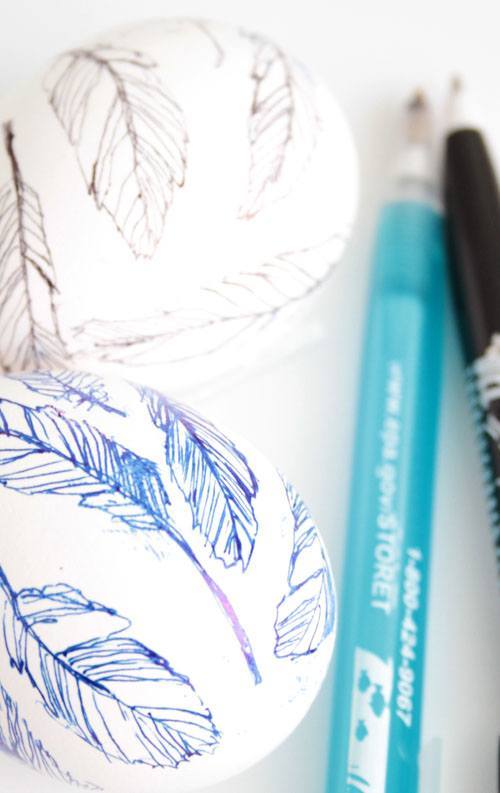
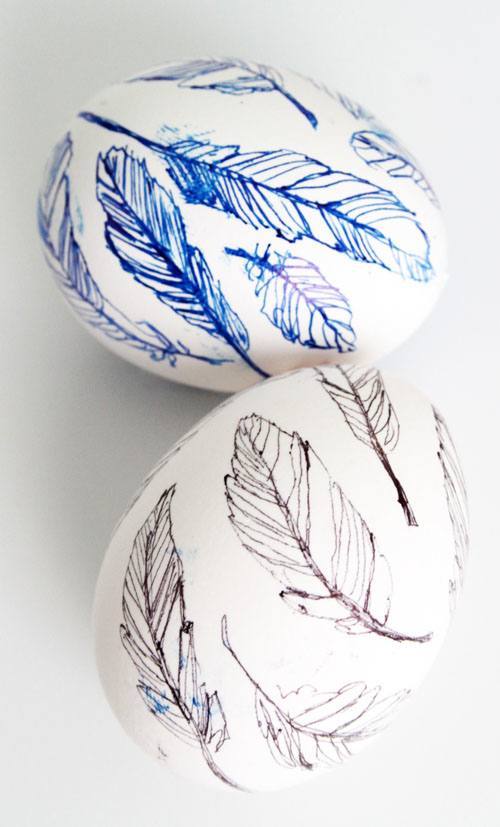
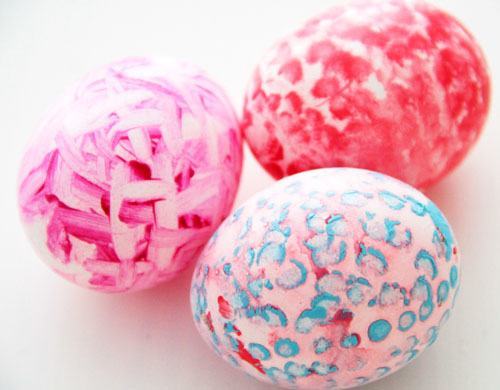
And you will get a dozen creative eggs!
3. Hand Painted Easter Eggs
What do you need
- Hard boiled eggs
- Acrylic craft paint
- A paint palette
- A paint brush
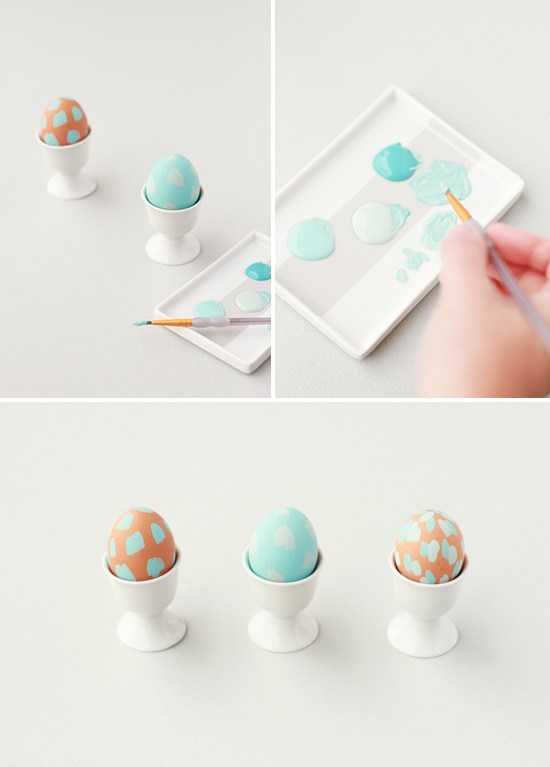
Pick a color scheme, pour out a little amount of each colour and mix it to until you get the perfect colour.
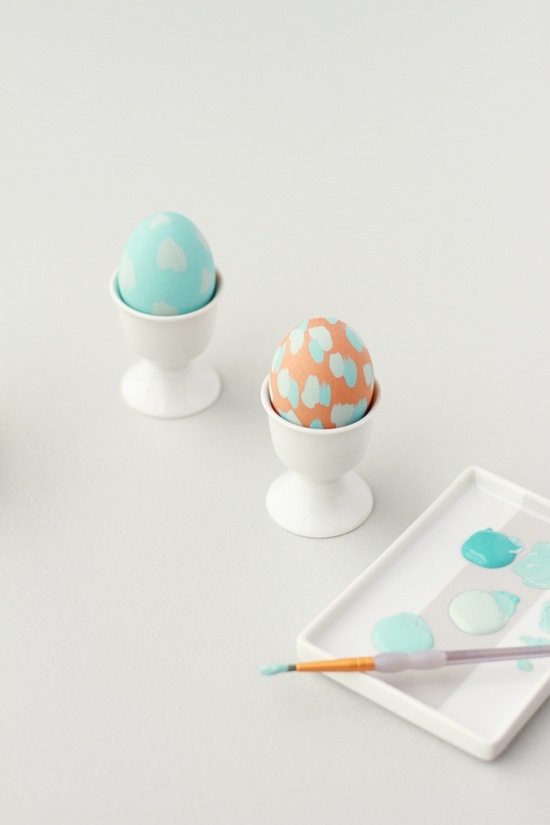
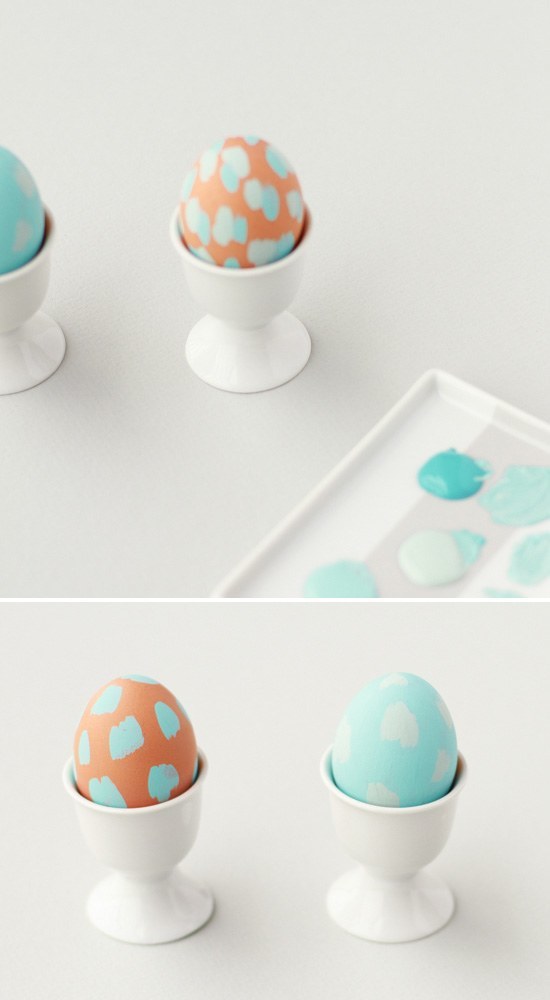
Use a quick brushstrike and ass short lines of paints ovet the entire egg. Leave a little bit of bit of space between the strokes to add more later. Let the egg dry and repeat the same process for the second egg.
Once the first round of paint is dry, add a second color of brushstrokes and wait for it to dry. And then add your third and final color.
Double the size of your brushstroke lines by painting two or three short strokes right next to each other. It will make it more of an abstract polka dot egg.
4. Homemade Easter Egg Dye
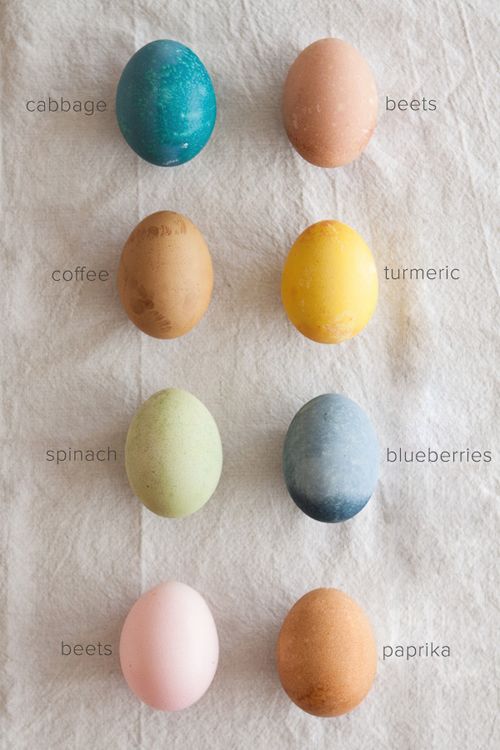
You don’t need to buy any Easter egg dye kits anymore. Use this natural food colouring and make beautiful DIY colourful eggs.
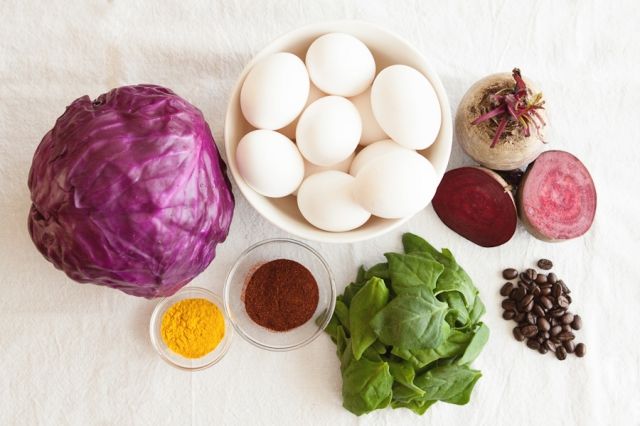
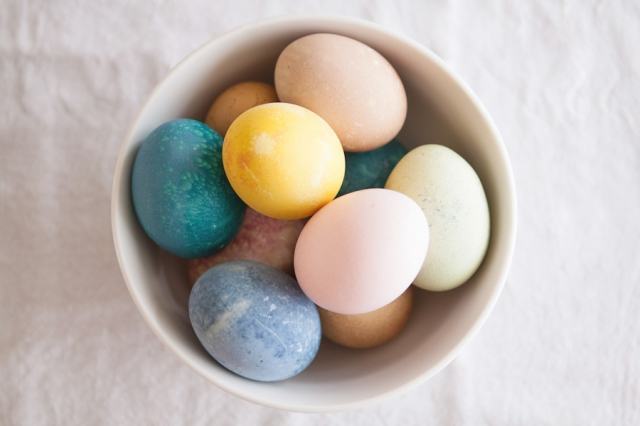
Give it a try and use the ingredients below. Take each ingredient and boil it in a small pot for about 10 minutes with the salt.
Then pour the liquid dye into mason jars and add vinegar and the hard boiled eggs. Some eggs need to stay in the dye for a few hours, and others overnight (in the fridge).
The cabbage, blueberries and turmeric will give you the most vibrant colours.
If you want your eggs to be a nice light pink live them in the beet dye for just an hour or two. For a pretty, earthy, pinkish-brown soak them overnight.
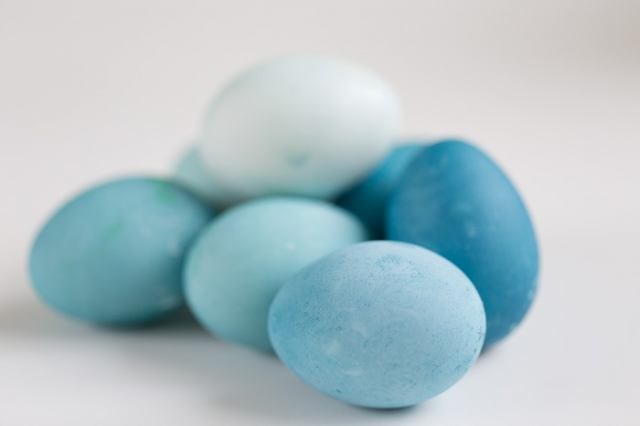
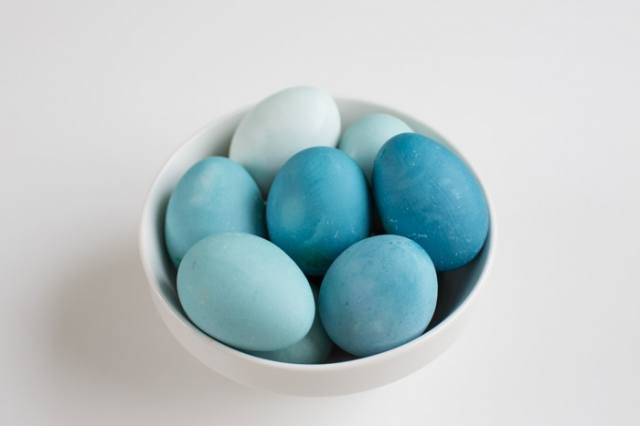
To dye your eggs BLUE:
- 2 cups chopped purple cabbage
- 2 cups water
- 1 tablespoon salt
- 1 tablespoon vinegar
To dye your eggs GREY-BLUE:
- 2-3 cups blueberries
- 2 cups water
- 1 tablespoon salt
- 1 tablespoon vinegar
To dye your eggs Pink:
- 1 beet, chopped
- 2 cups water
- 1 tablespoon salt
- 1 tablespoon vinegar
To dye your eggs Brown:
- 2 cups of strongly brewed coffee
- 1 tablespoon salt
- 1 tablespoon vinegar
To dye your eggs Orange:
- 1-2 tablespoons paprika
- 2 cups water
- 1 tablespoon salt
- 1 tablespoon vinegar
To dye your eggs YELLOW:
- 1-2 tablespoons turmeric
- 2 cups water
- 1 tablespoon salt
- 1 tablespoon vinegar
To dye your eggs GREEN:
- 3 cups chopped spinach
- 2 cups water
- 1 tablespoon salt
- 1 tablespoon vinegar
via www.kaleyann.com
5. Watercolor Easter Eggs
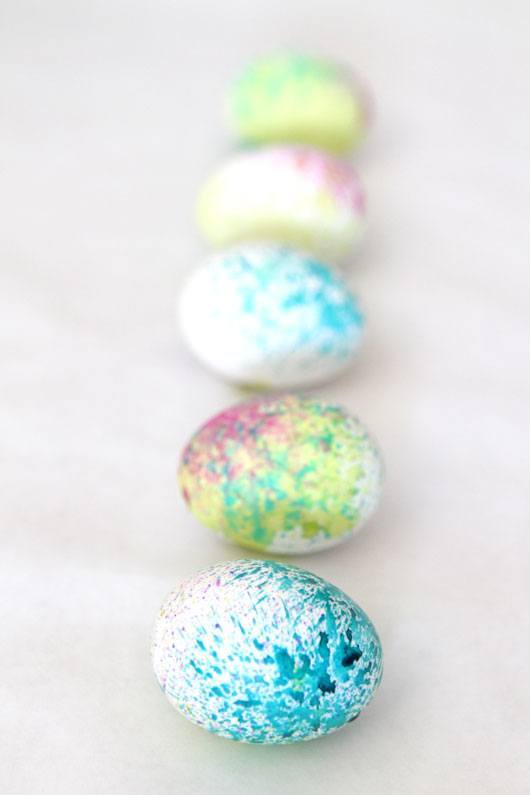
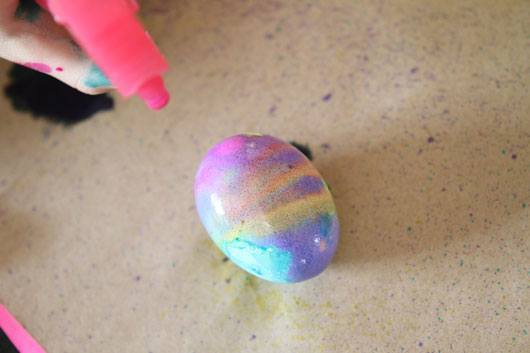
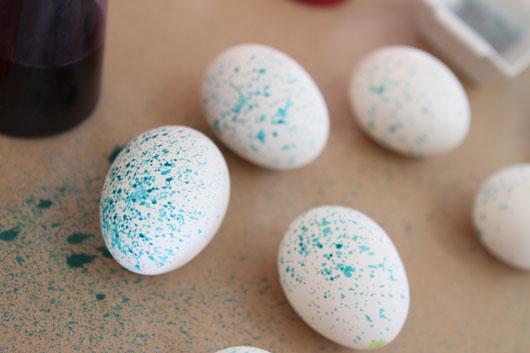
To start you’ll need some boiled eggs and some non-toxic concentrated liquid watercolors. and know that you’ll have them to use for years to come, unless you’re running a preschool of course.
You can use metallic gold and silver, or glitter colors to add beautiful shimmer by placing the metallics/glitter in little bowls to paint on. Use the regular colors in spray bottles.
2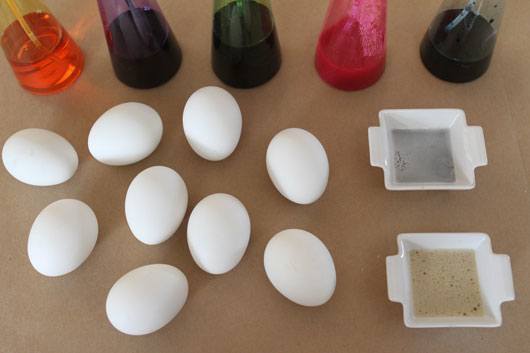
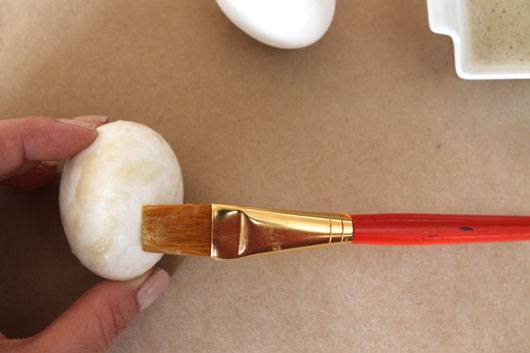
Do you want to add a bit of shimmer to your eggs? Brush on some of the metallic on your egg first. They do give the eggs a pretty shimmer look to them.
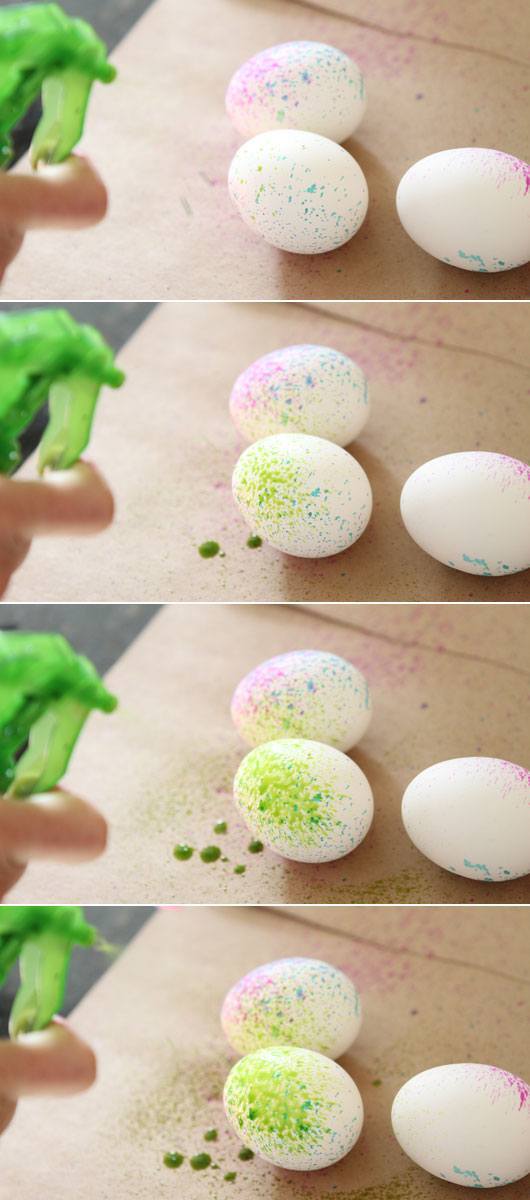
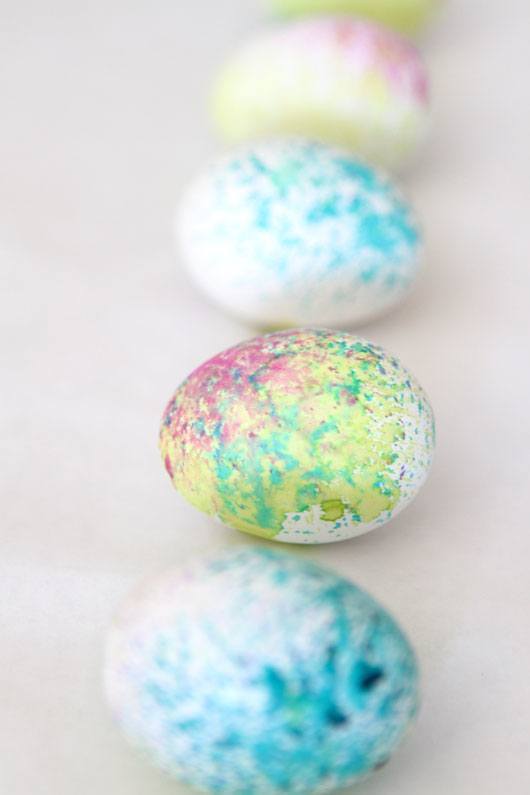
Spray the eggs with whatever colours you want. The colors have a nice way of blending together on the eggs so they look like they have a swirly tie-dye effect.
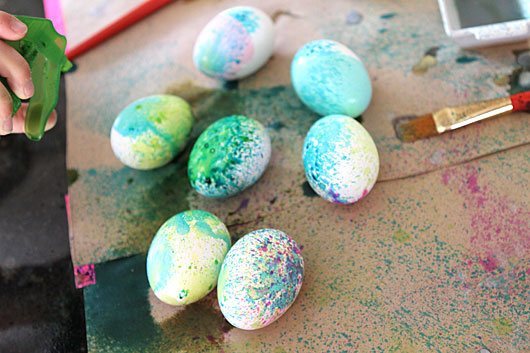
Let the eggs dry for about 30 minutes before adding more colours and layers.
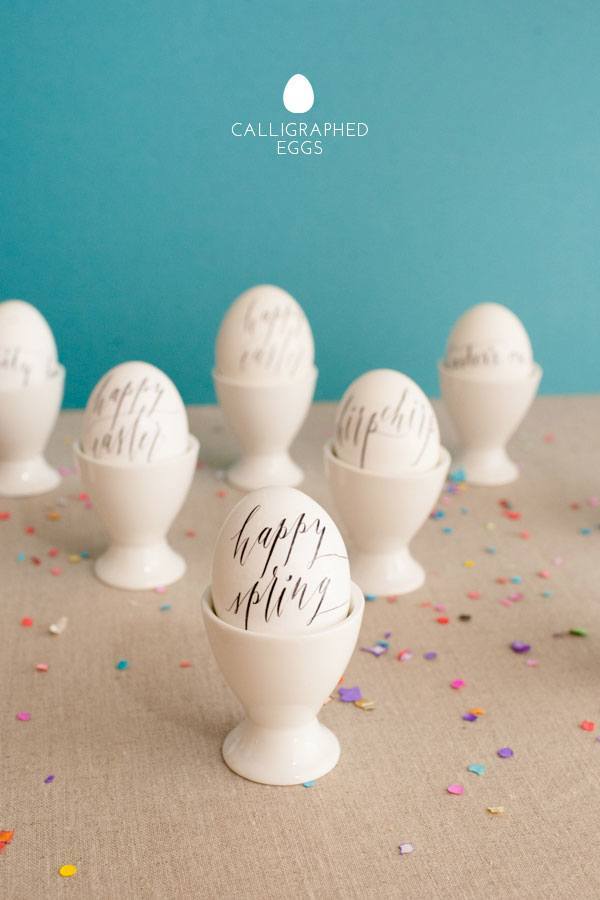
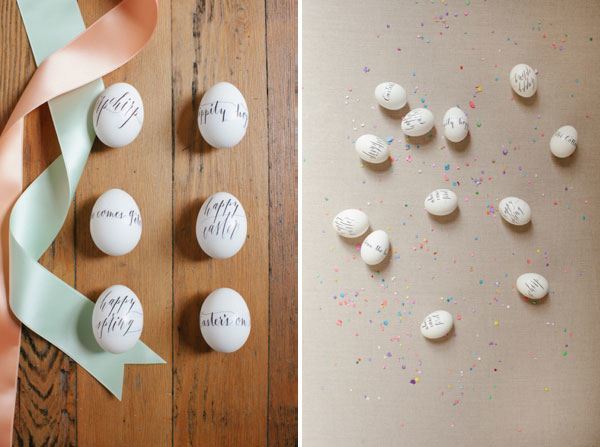
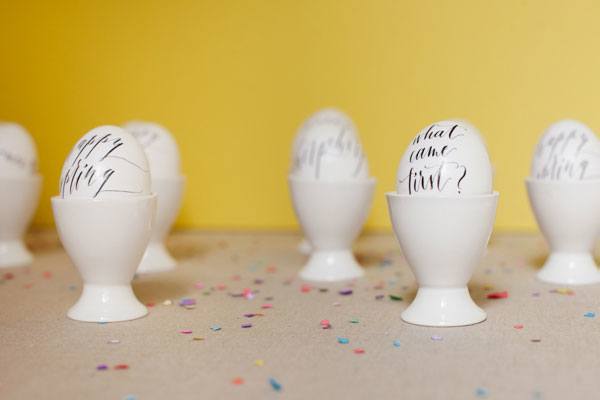
6. Calligraphy Eggs
What would you say about decorating simple and beautiful eggs through calligraphy? But let’s face the truth, it can be really difficult to write in a pretty font on a rounded surface.
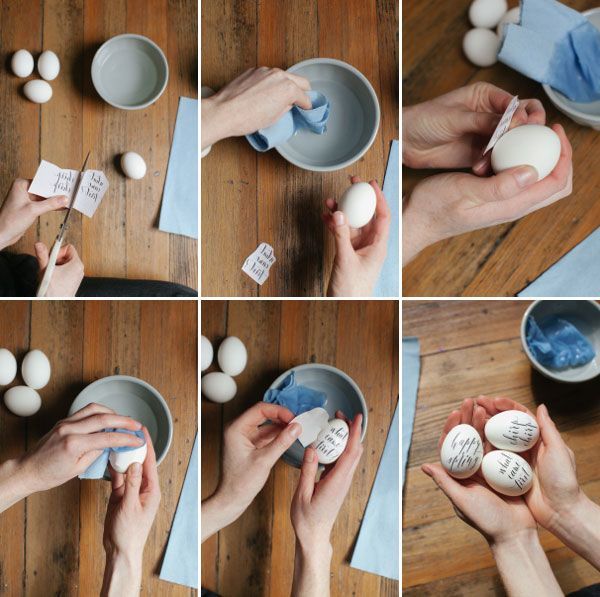
So, why not to use some templates to apply tattoo paper? They are easy to make and even easier to clean up.
What do you need
- Tattoo paper
- Scissors
- Hard boiled eggs
- Small bowl
- Water
- Paper towel
- Download the template— reversed—and print it out onto temporary tattoo paper (it can be Silhouette Printable Tattoo Paper from Paper Source.)
- Closely follow the instructions provided on the tattoo paper packaging for proper application of the adhesive sheet.
- Cut out one tattoo and remove the clear plastic layer. Apply it then with a very wet paper towel to a hardboiled egg, again referencing the tattoo paper instructions for additional application details.
- Remove the paper backing and you get a calligraphed egg!
via ohhappyday.com
7. Black & White Easter Eggs
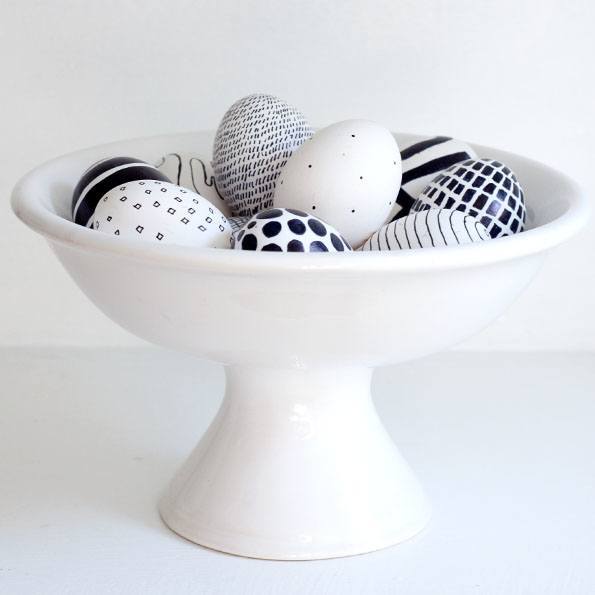
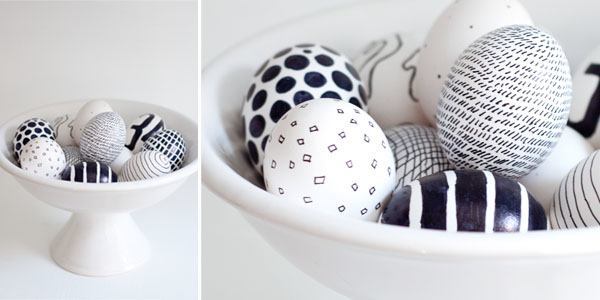
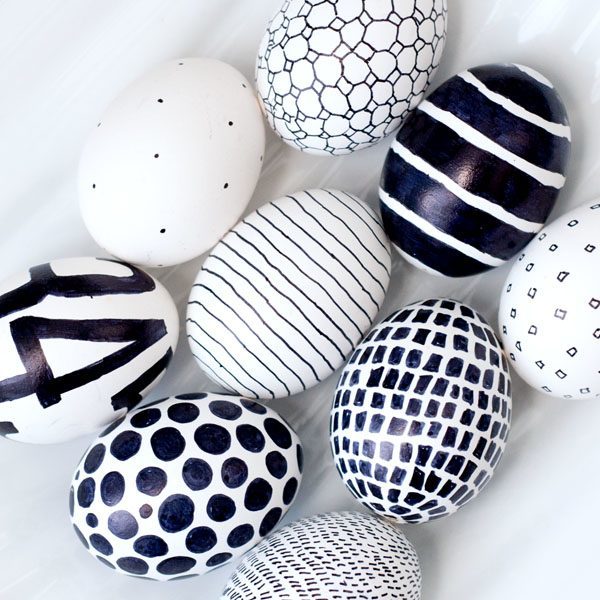
Decorated your eggs with a different black and white pattern. Use two or more thicknesses of sharpie and try to vary techniques and visual weights for each pattern.
The effect is clean and modern, with a little bit of whimsy from the less-than-perfect hand drawn patterns. If you’re not for fussy patterns or pastels these will be just your taste for holiday decorations.
via www.larecetadelafelicidad.com
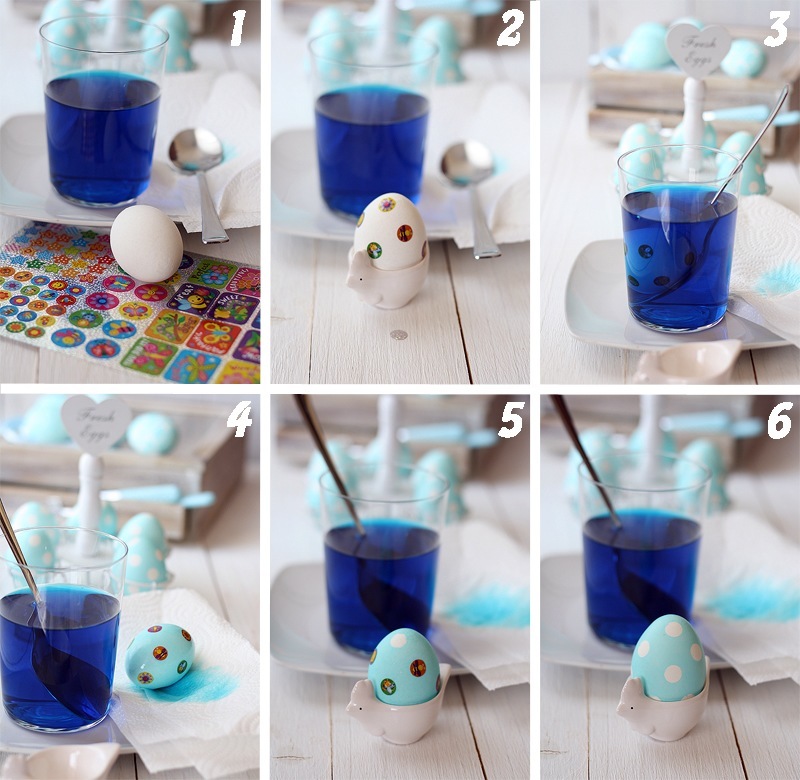
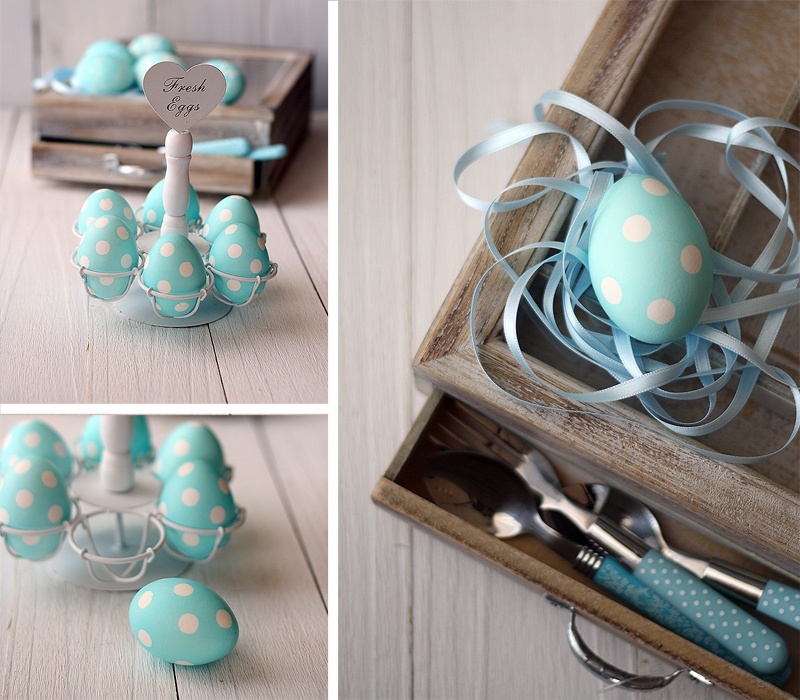
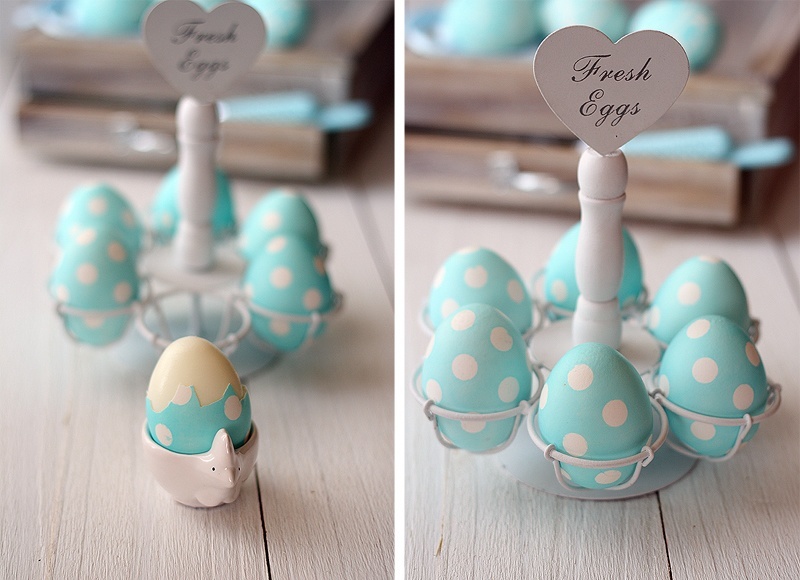
8. Polka Dots Easter Eggs
What do you need
- Boiled eggs, preferably white
- 1 tablespoon vinegar (best white)
- blue food color (or colors you want)
- Round, preferably metallic or plastic stickers
- Optionally Easter eggs can be decorated tying them with zeal, ribbons, leaves, flowers, lace straps
Preparation
- Boil the eggs and let cool
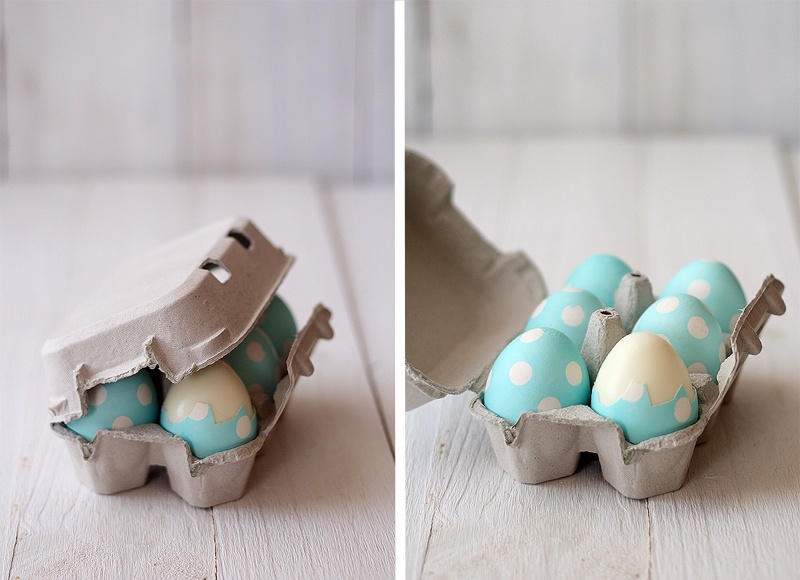
- Paste the stickers on cooked eggs making sure they are well adhered.
- Fill the glass of water (3/4 full), add a tablespoon of vinegar and a chosen colour (1 or 2 tablespoon of liquid drops). Stir the mixture well.
- Add boiled egg to the cap and leave within a few seconds to one minute, depening on the tone of colour you want to get.
- Take out the egg using a spoon and dry it well with a paper towel. Take off the stickers immidiately.
If you want to achieve a satin finish effect you can rub the eggs with a little olive oil or sunflower oil. Dry the eggs with paper towels.
via www.larecetadelafelicidad.com
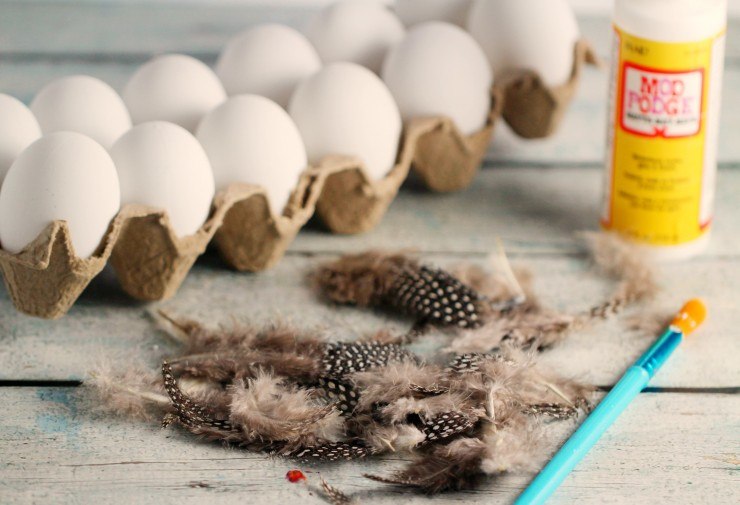
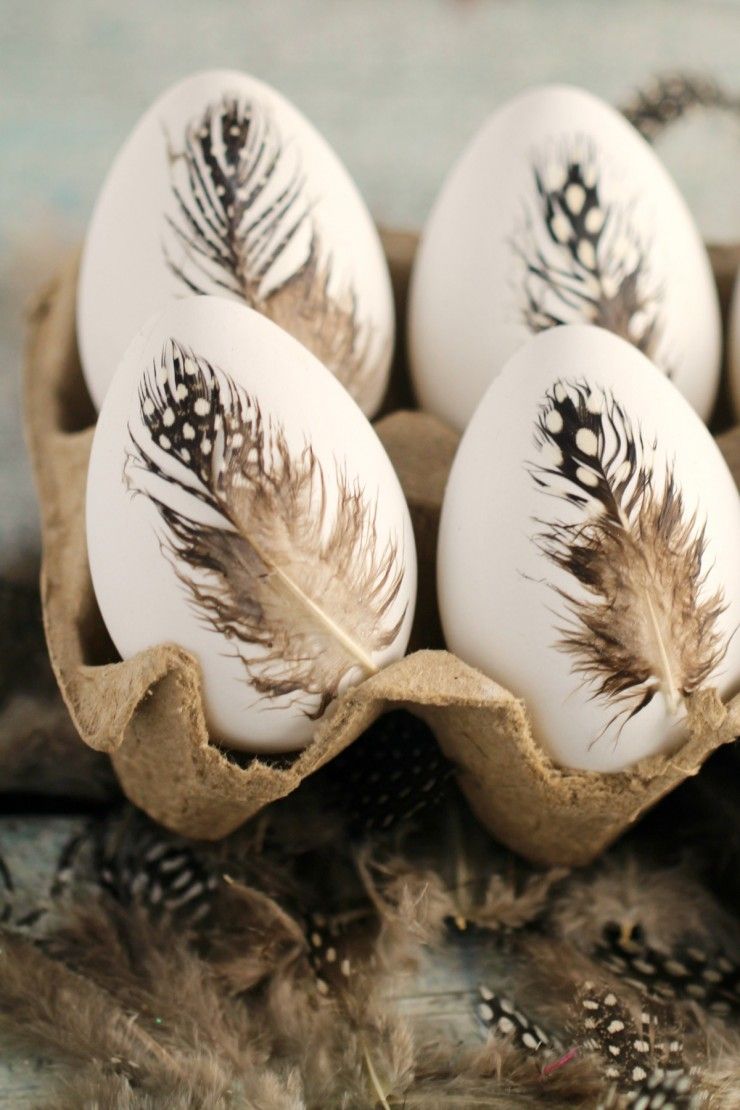
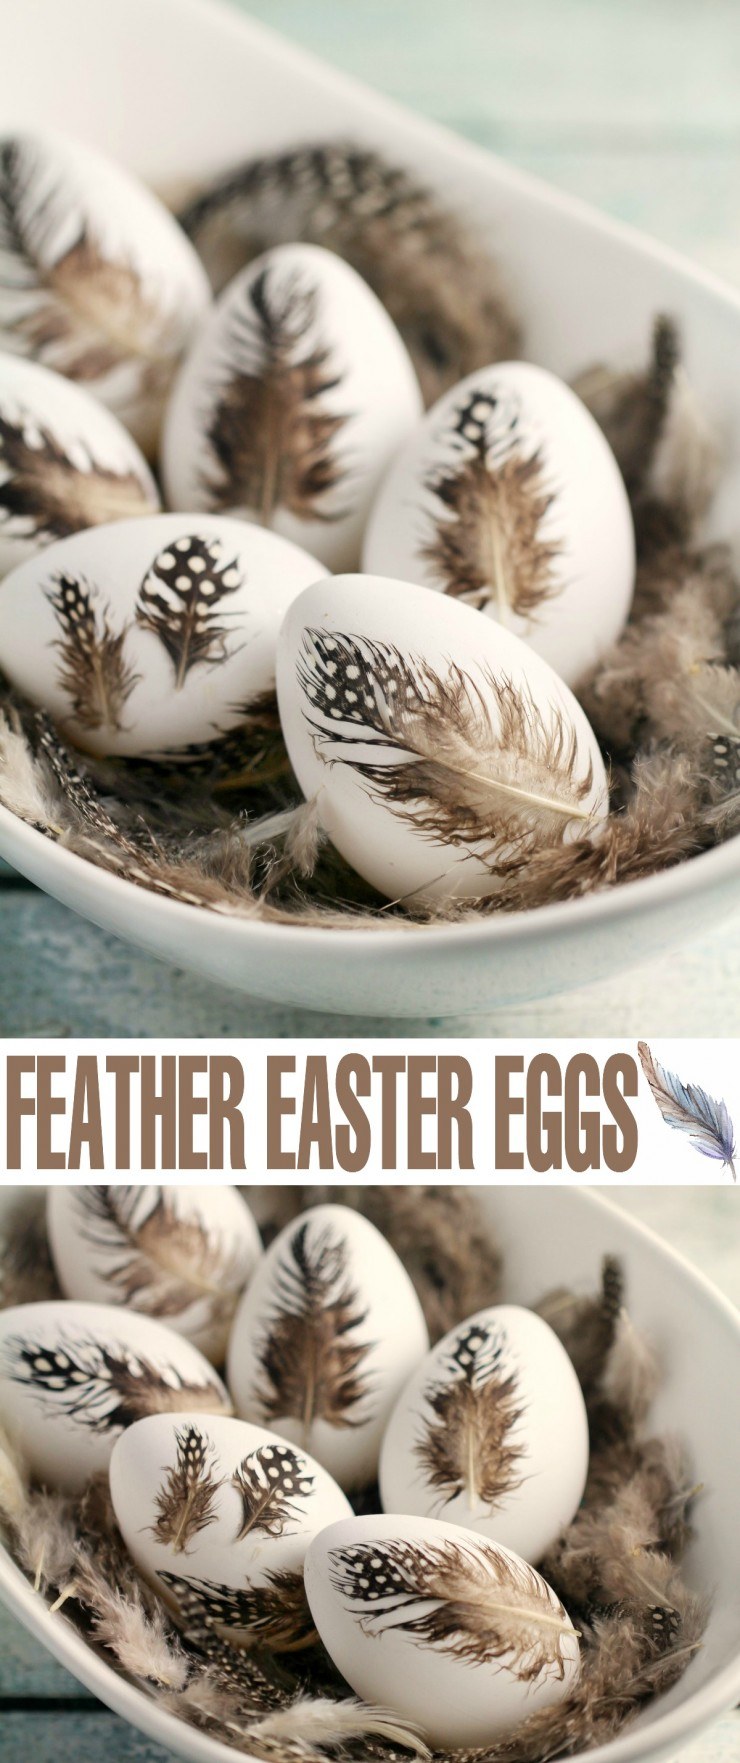
9. Feather Easter Eggs
These DIY Feather Easter Eggs are a simple but elegant way to decorate Easter eggs!
Pate down the feather with modge podge and a small foam, brush carefully about the direction of the feathers as you brushed it on. Apply a second coat after it dried.
Pin Me
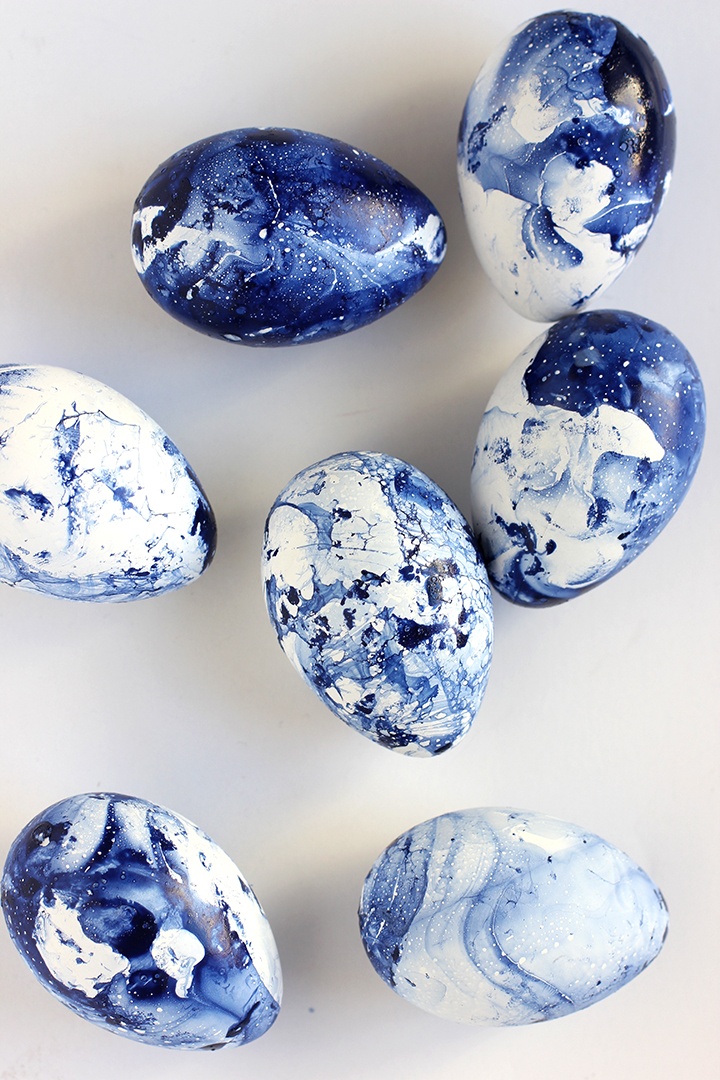
10. DIY Marbled Indigo Eggs
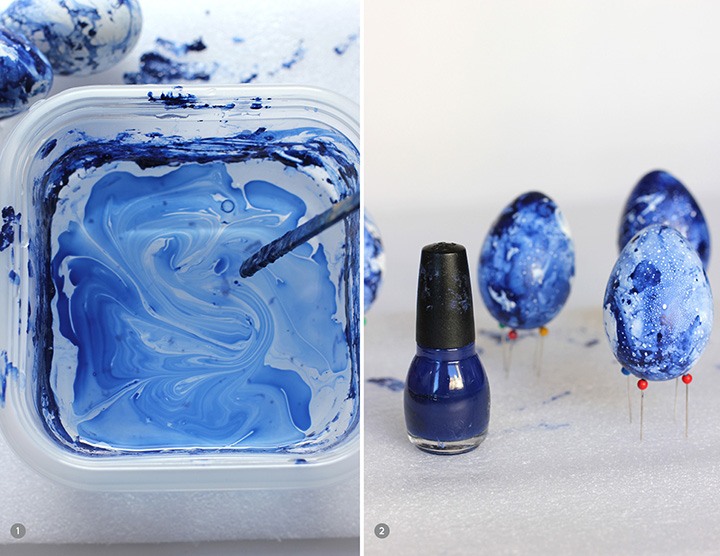
This Easter egg tutorial uses nail polish to take bold marbling in an unexpected direction.
What do you need
- faux eggs (or room temp hard boiled)
- disposable plastic container
- blue nail polish
- rubber gloves
- stir stick
- drying holder
- nail polish remover
- room temp water
Preparation
- Fill plastic container 3/4 full with room temperature water
- Stir with stick to make a marble look in water.
- Dip the egg under the water and swirl. Wear rubber gloves.
- Dry the eggs.
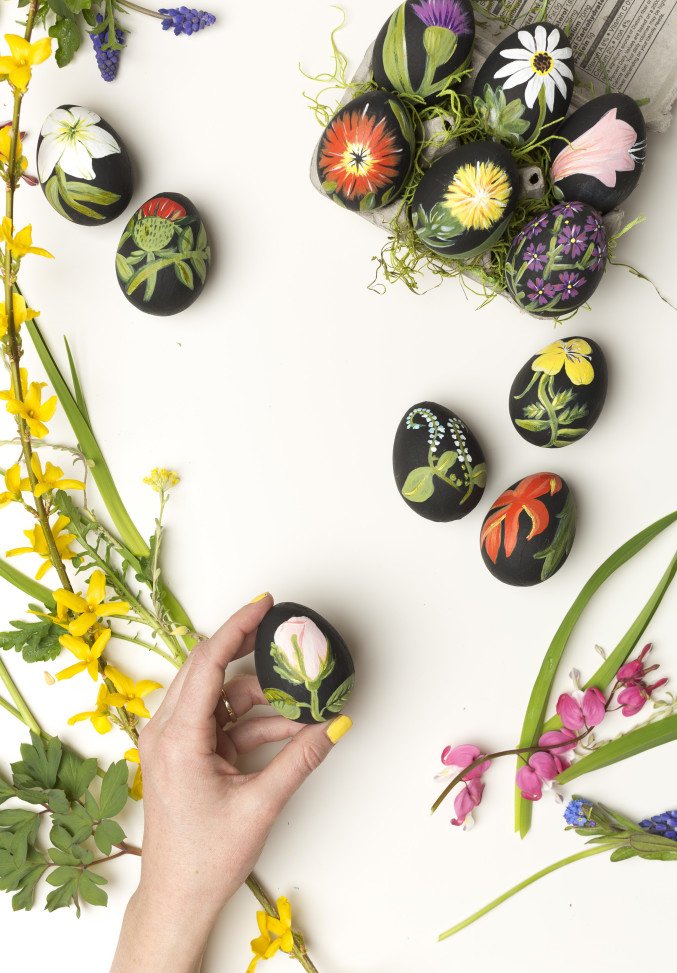
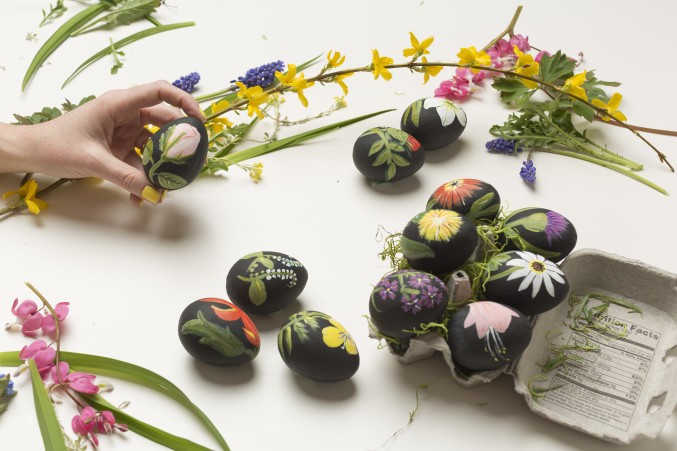
11. Flowery Eggs
These lovely botanical print-inspired eggs require a steady hand.
These are paper mache with a botanical theme but the technique will work with any type eggs (like wooden or even objects other than eggs) and any theme.
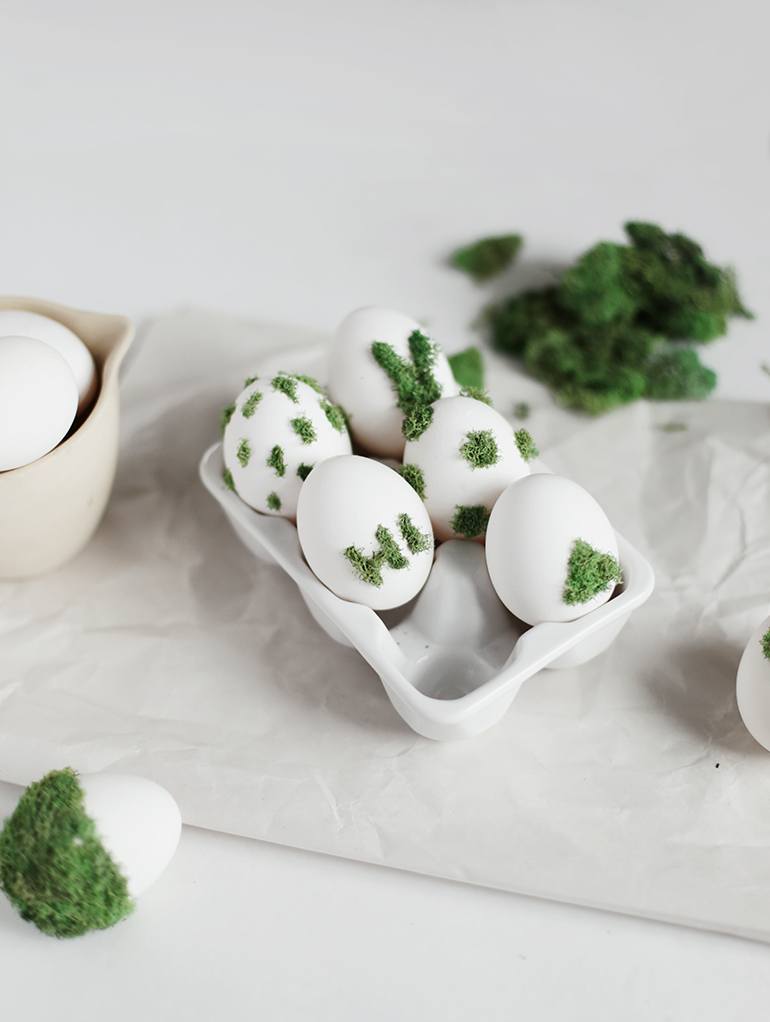
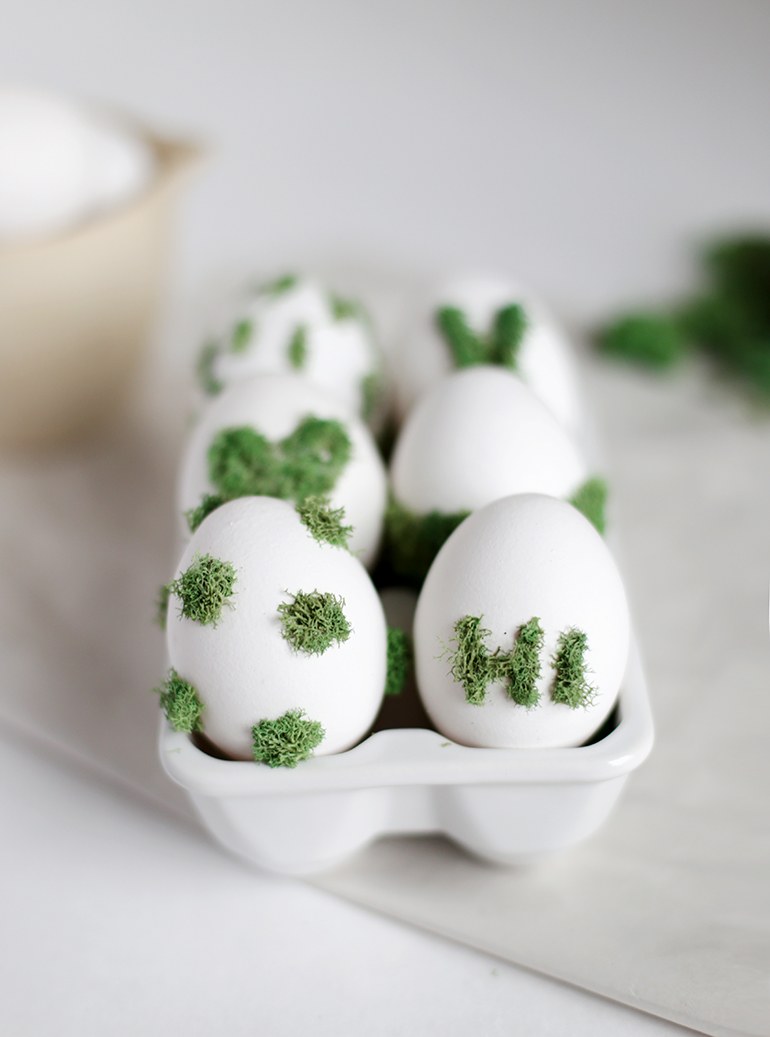
12. Mossy Easter Eggs
Simple Easter eggs that you’ll want to display whether you have kids or not – moss eggs!
This refreshing, spring-like project is an easy way to sneak some greenery into your Easter celebration.
These DIY moss-covered eggs use glue and a paintbrush to create plant patterns.
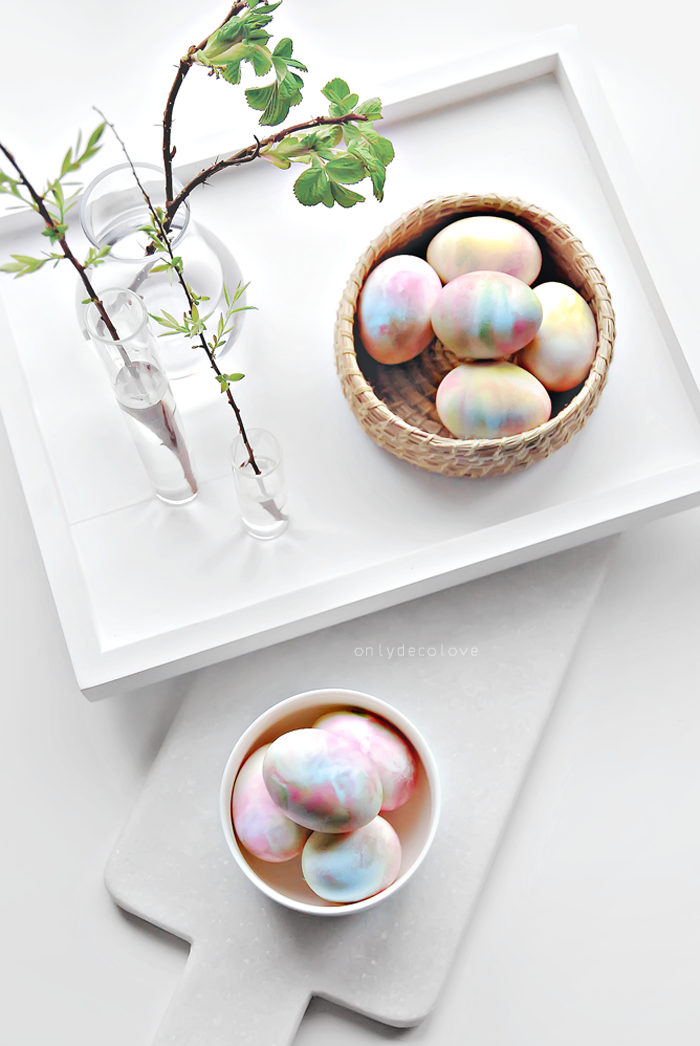
13. Whipped Cream Easter Eggs
Did you know you can dye eggs with whipped cream? It creates a lovely muted watercolor-like tone, and it’s no harder than traditional dye.
How to dye eggs with whipped cream:
What do you need
- whipped cream
- food coloring
- vinegar
- hard boiled eggs
Preparation
- Whip the cream and fill a baking dish completely
- Drip generously food coloring mixed with a few drops of vinegar all over the cream
- Place boiled eggs in the cream and gently roll once for the egg to be comppletely covered
- Let sit for 10 to 30 minutes depending on how intens you want the color to be
- Remove and let to dry.
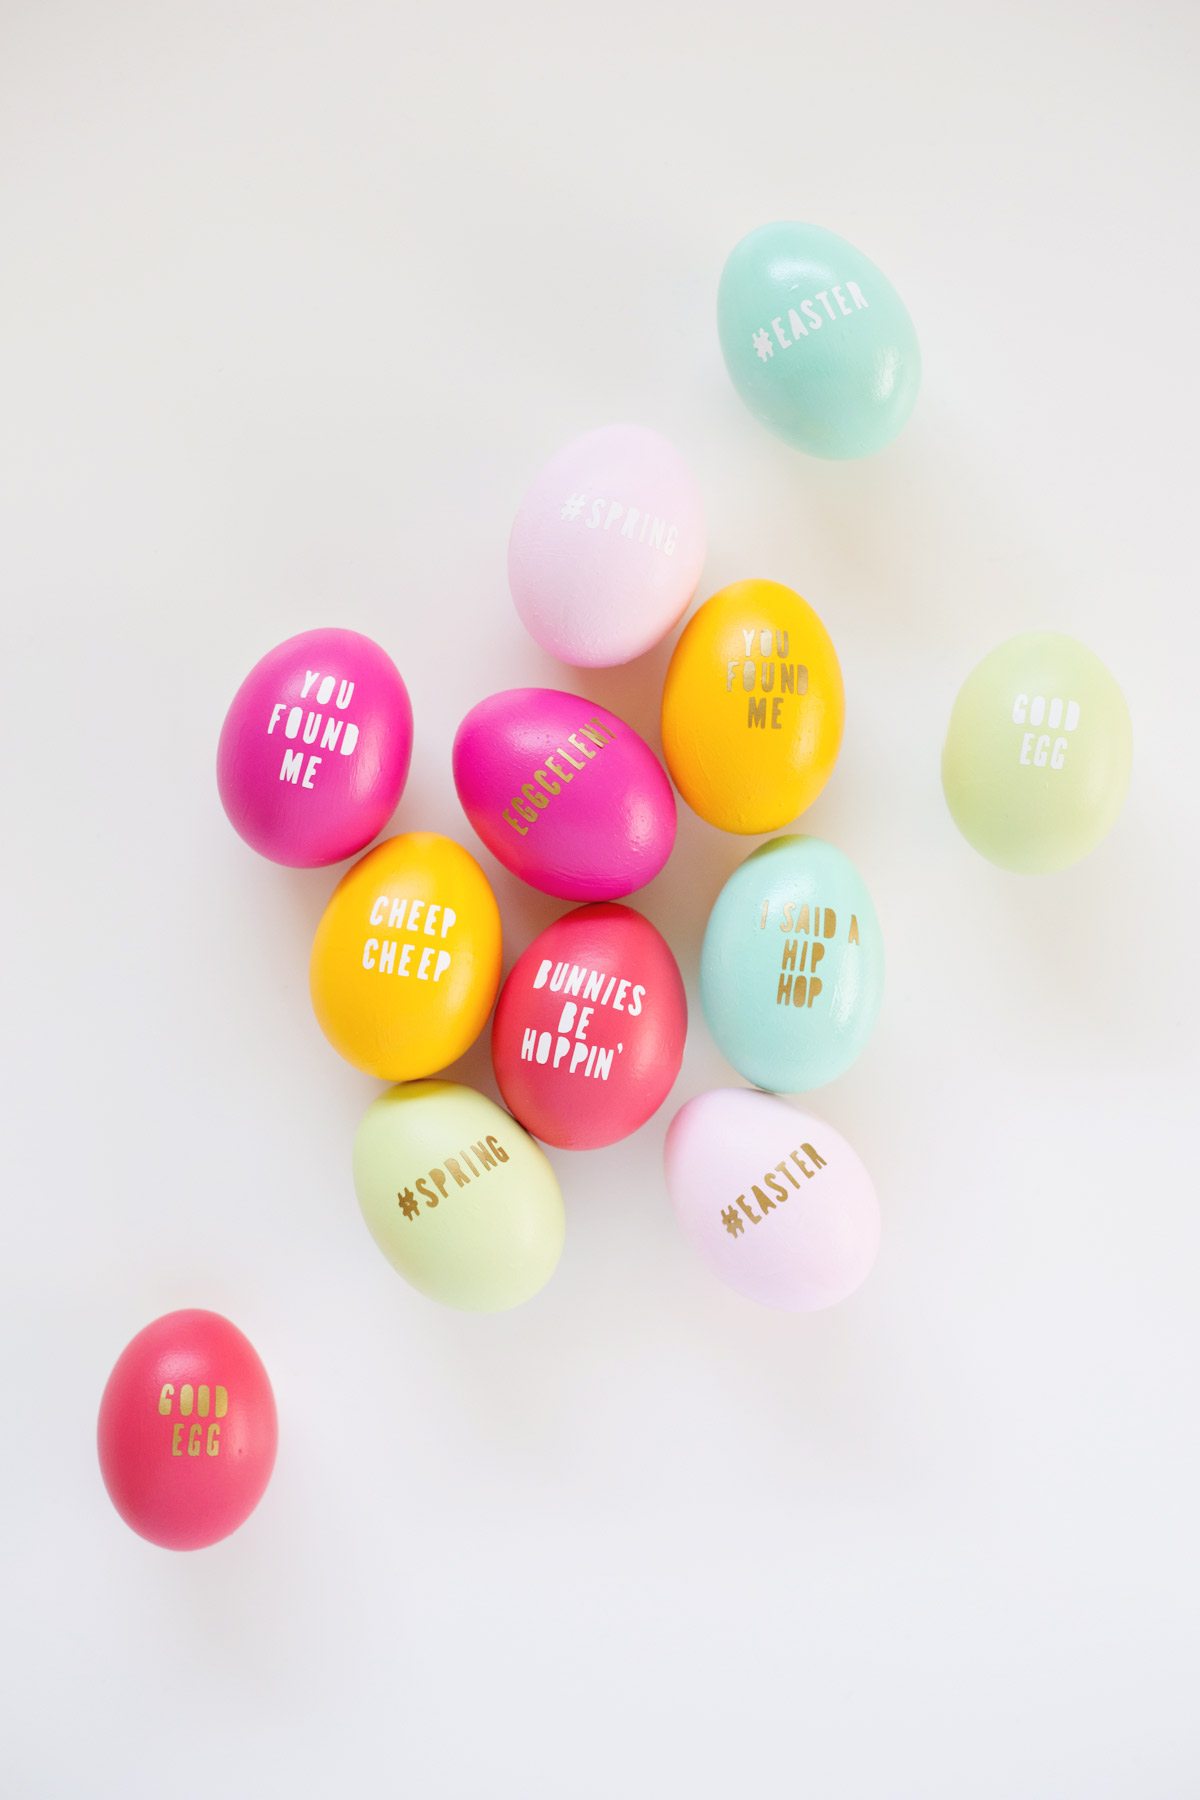
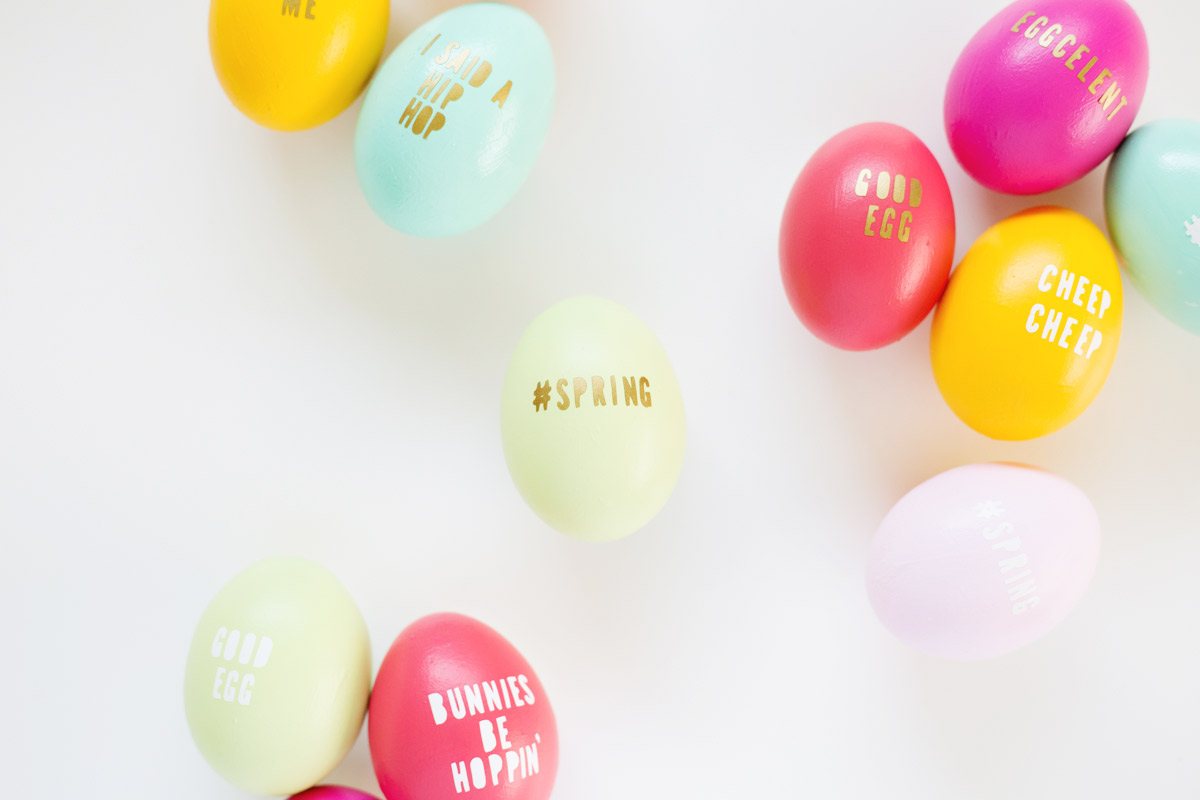
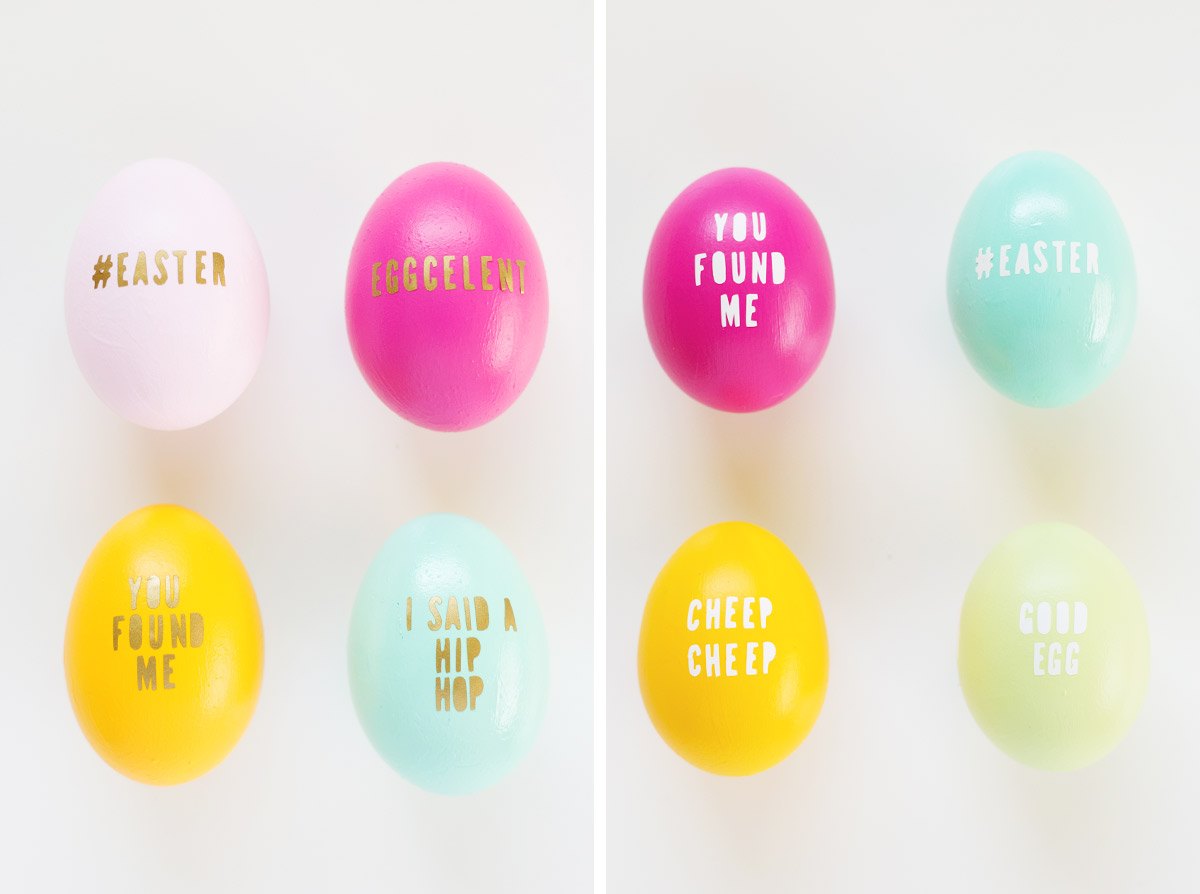
14. DIY Typography Easter Eggs
These are most definitely going to be the coolest eggs at the Easter egg hunt.
What do you need
- contact paper or adhesive vinyl
- scissors and craft knife
- eeggs
- craft paint
- paintbrushes
- tweezers
Preparation
- Cut out your letters in phrases that you love.
- Hard boil your eggs and dye or paint them.
- Stick your letters onto your eggs! It can help to use tweezers for placement if your letters are extra tiny.
- Press the letters into the eggs to be sure that they adhere thoroughly.
via lovelyindeed.com
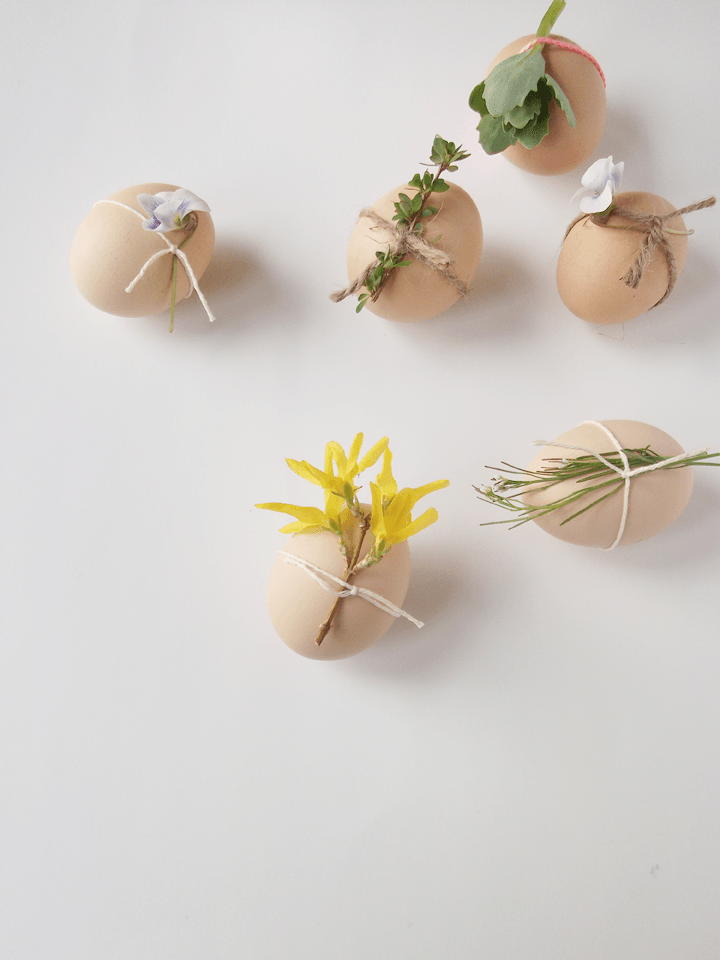
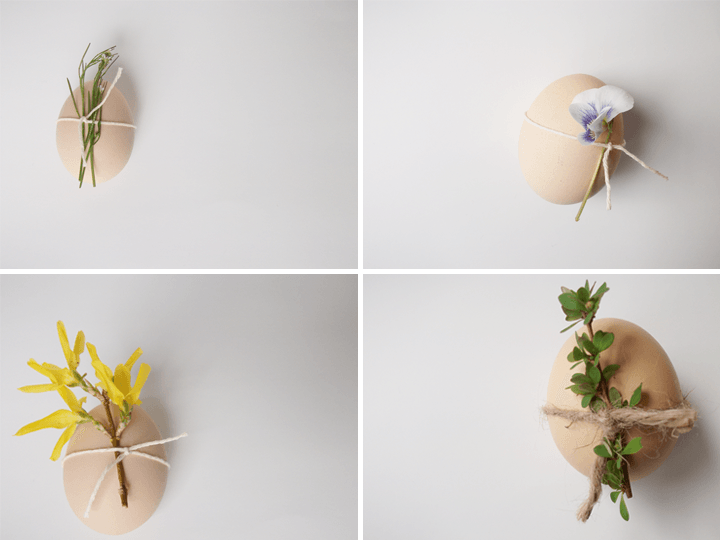
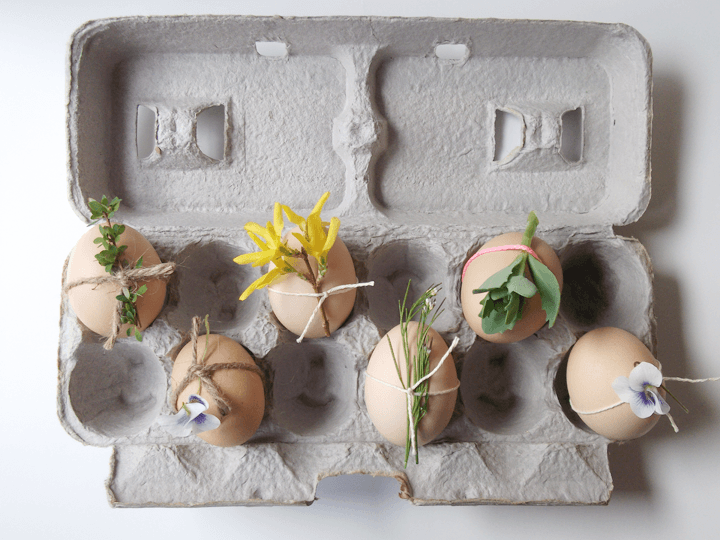
15. All Natural
These eggs look so simple and pretty!
Just grab a few eggs, a handful of blossoms or herbs from the garden, and a length of twine.
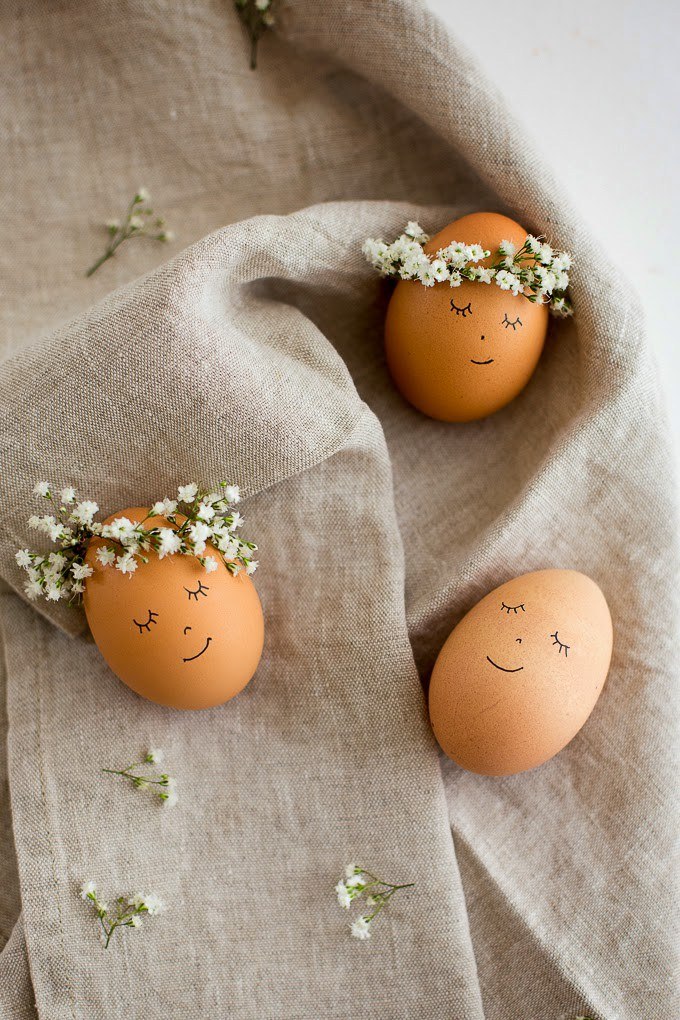
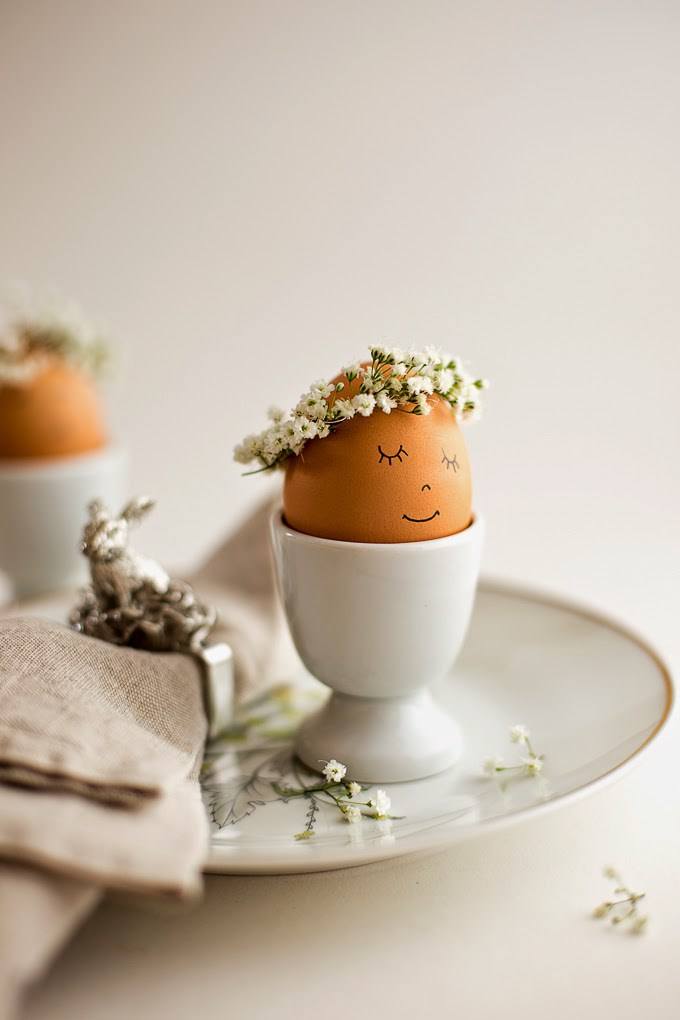
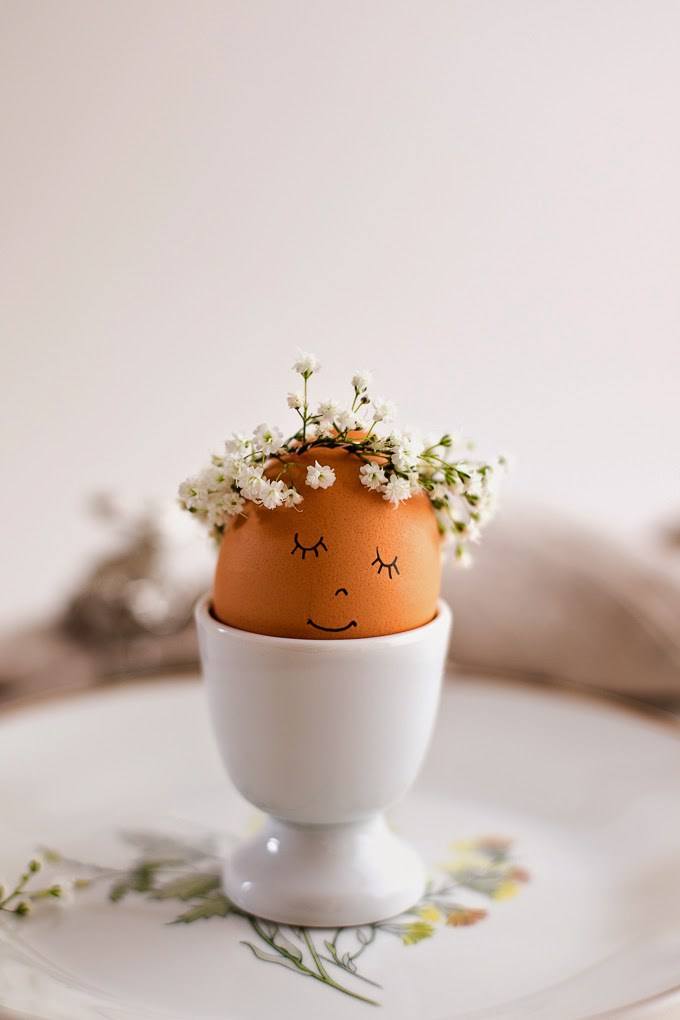
16. Floral Wreath Crowned Easter Eggs DIY
You will love this sweet, bohemian take on the natural egg.
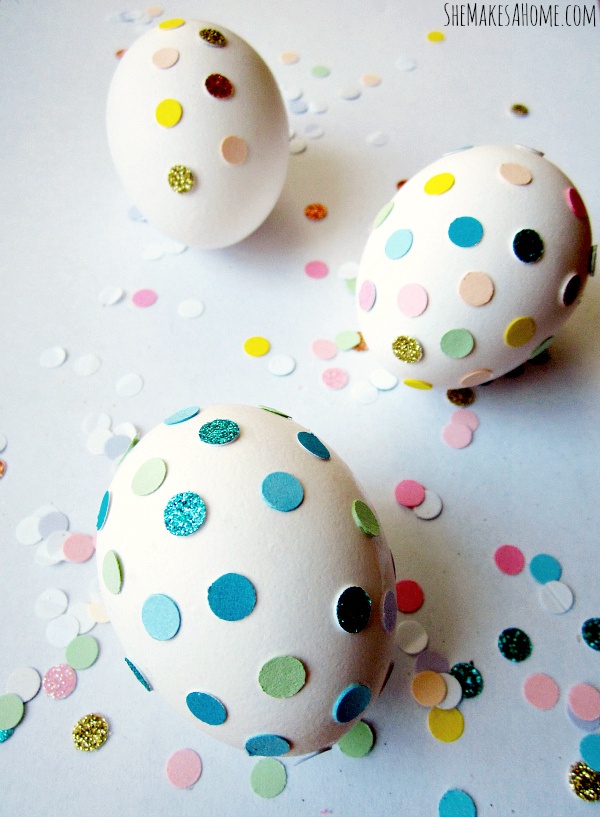
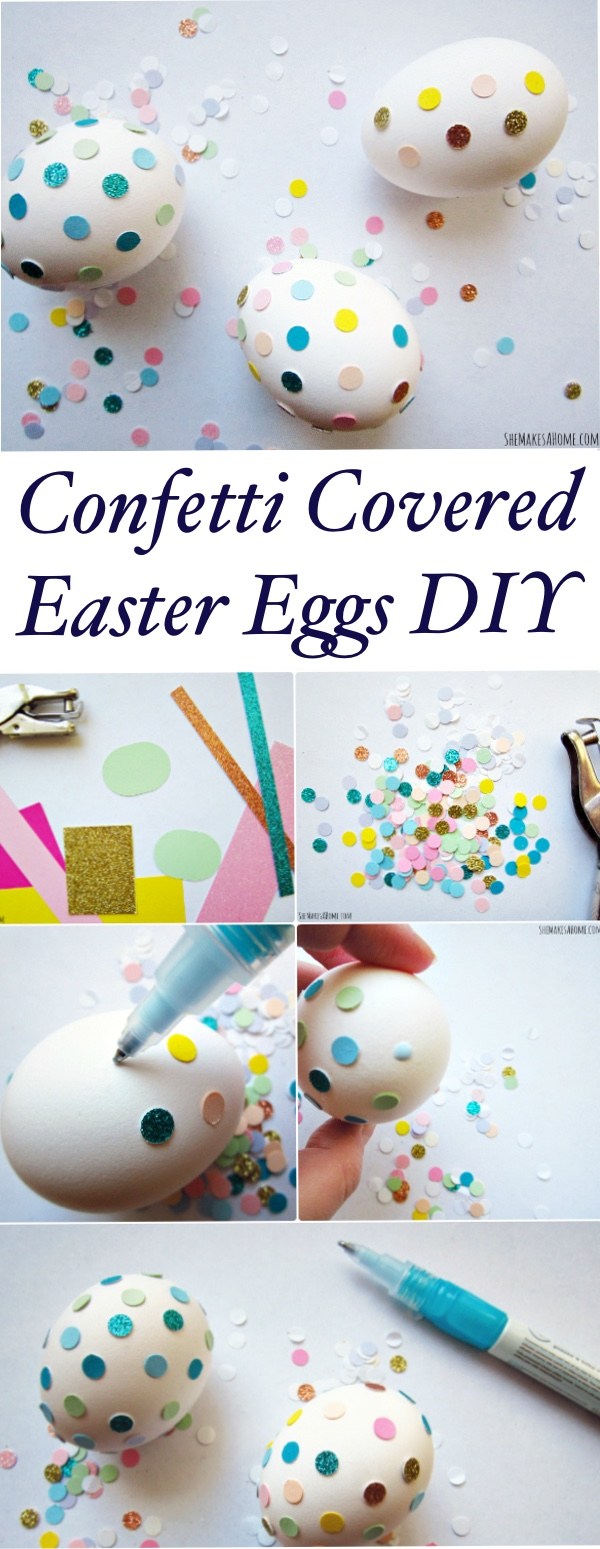
17. Confetti Covered Easter Eggs DIY
Here’s another clever way to use office supplies to punch up your egg decor.
What do you need
- hard boiled eggs
- a hole puncher
- colored papers or card stock
- craft glue
Preparation
- Punch confetti circles from your papers.
- Dab a dot of glue on the egg, and place a confetti circle on top, one at a time, alternating glue-confetti-glue-confetti.
- Let eggs dry in the egg carton overnight.
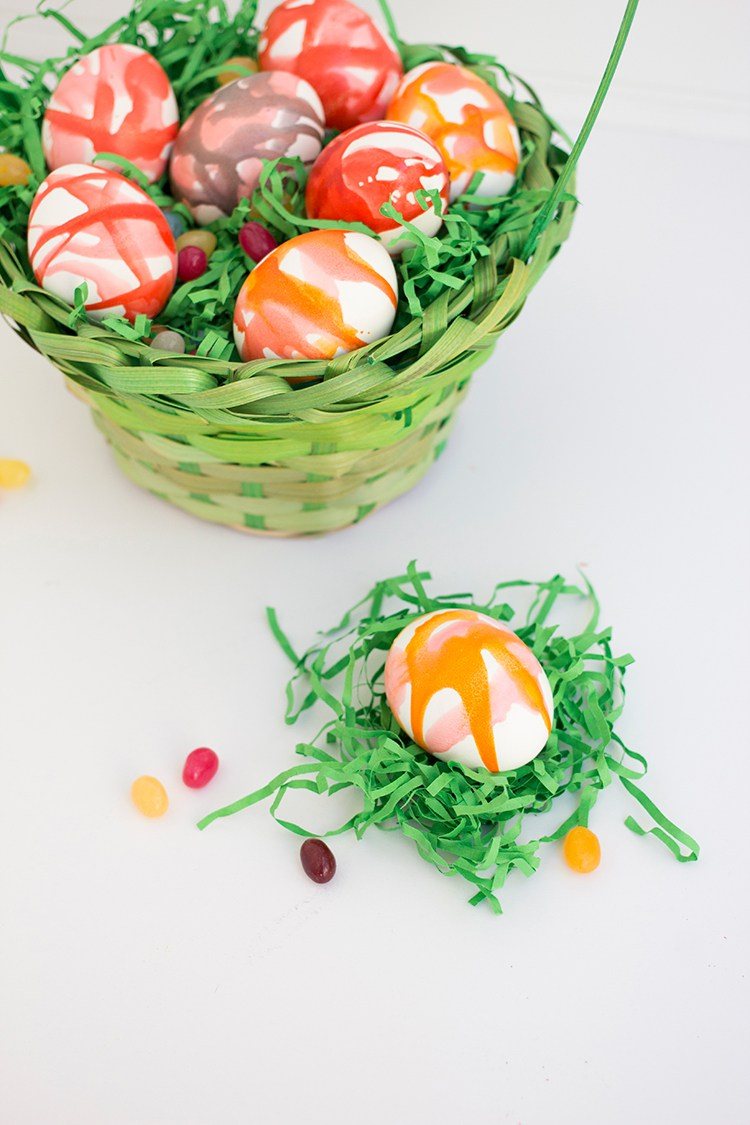
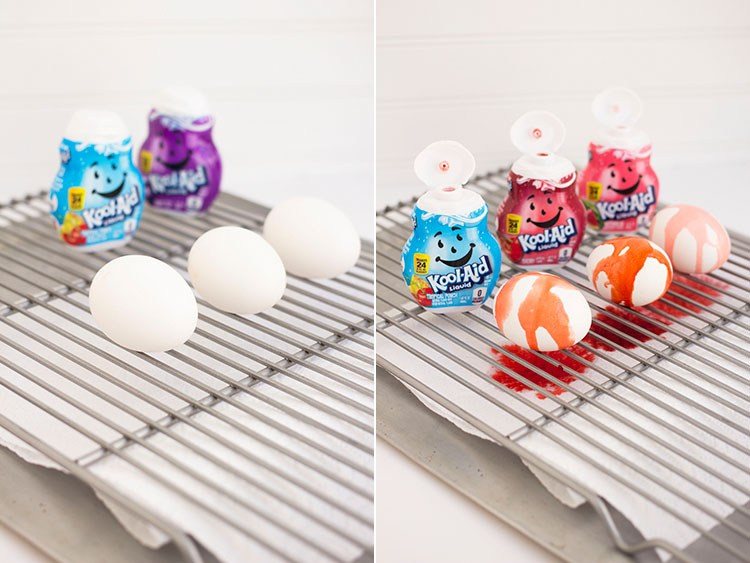
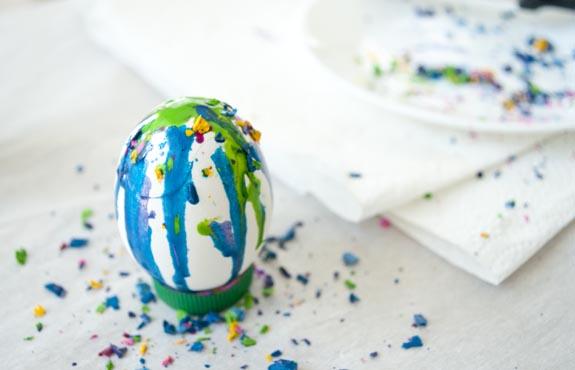
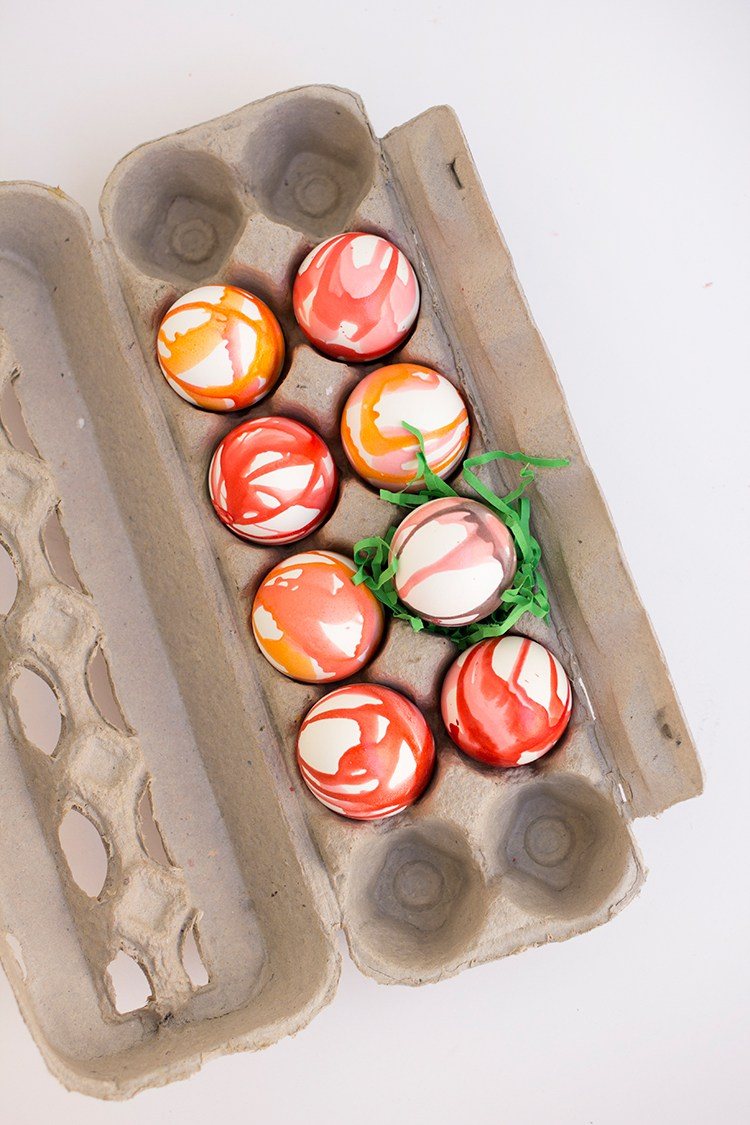
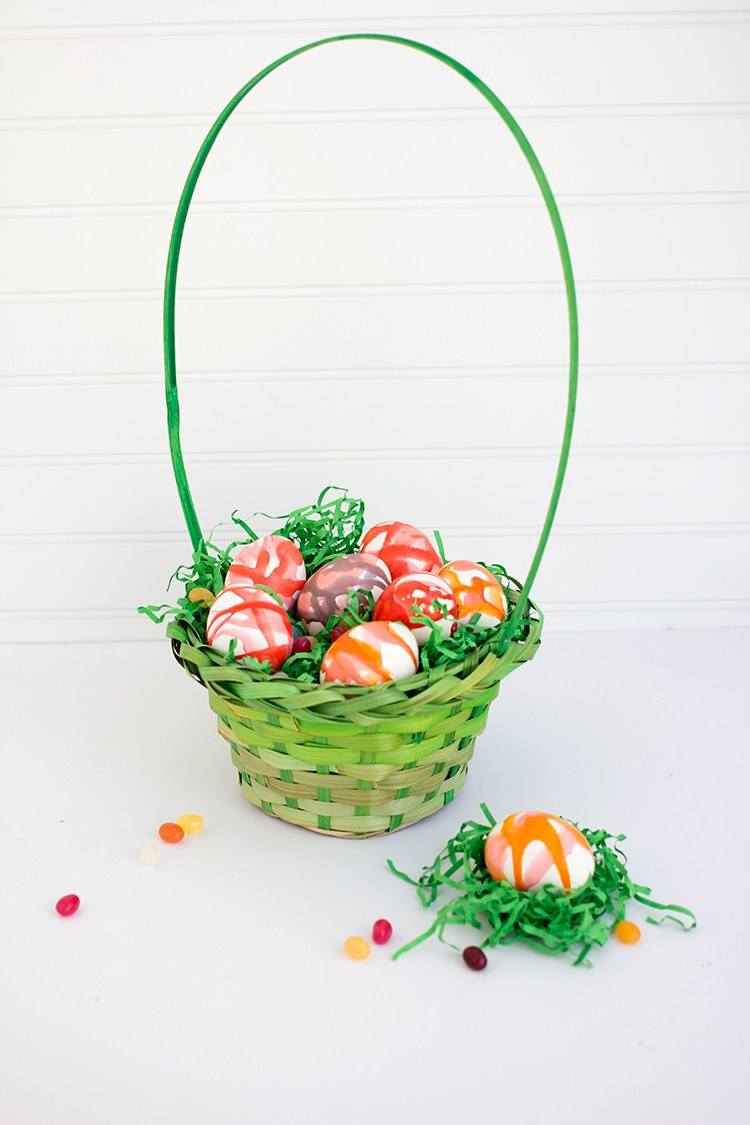
18. Kool Aid Dyed Easter Eggs
A fun way to dye Easter Eggs using liquid Kool Aid.
What do you need
- Kool-Aid Liquid
- hard boiled eggs
- paper towels
- baking sheet
- cooling rack
Preparation
- Line a cookie sheet with a few layers of paper towels and a metal cooling rack.
- Arrange hard boiled eggs on cooling rack.
- Using one flavor of Kool-Aid at a time, gently squeeze Kool-Aid over eggs in a random pattern allowing it to drip down the sides of the egg.
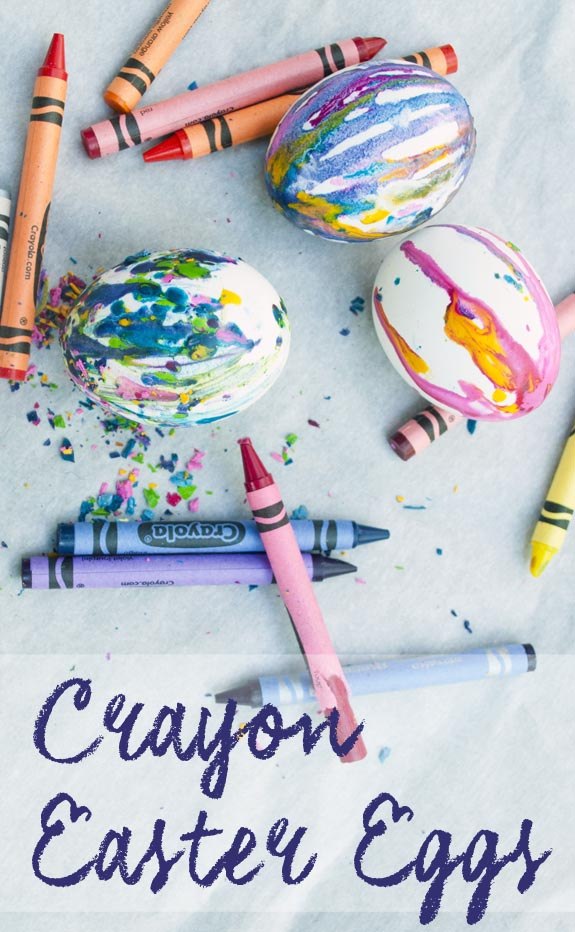
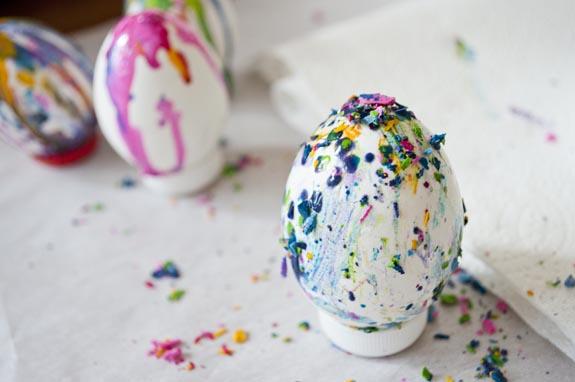
19. Melted Crayon Easter Eggs
This is a fun and unique way to decorate your Easter eggs. Plus, it’s much easier and less messy than the traditional way!
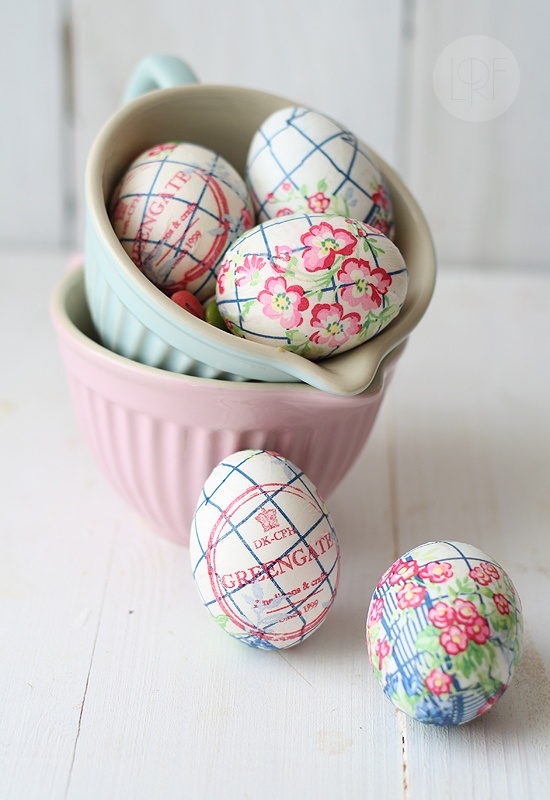
20. Paper Napkin Eggs
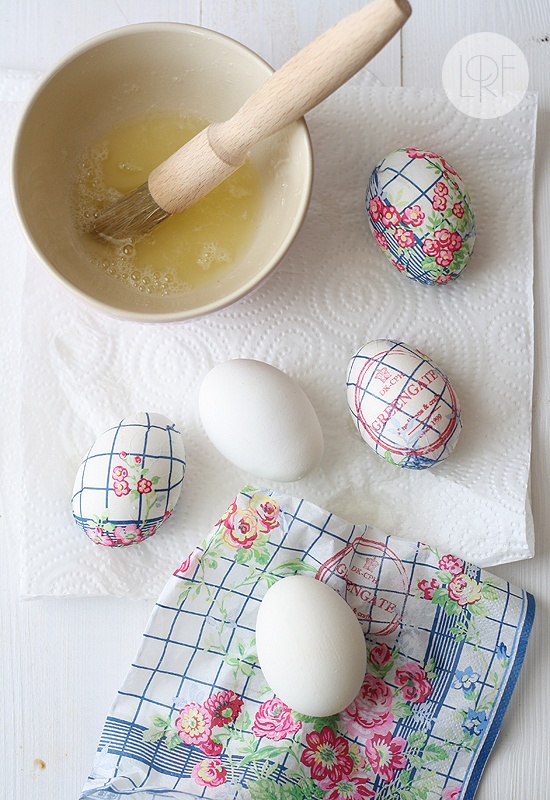
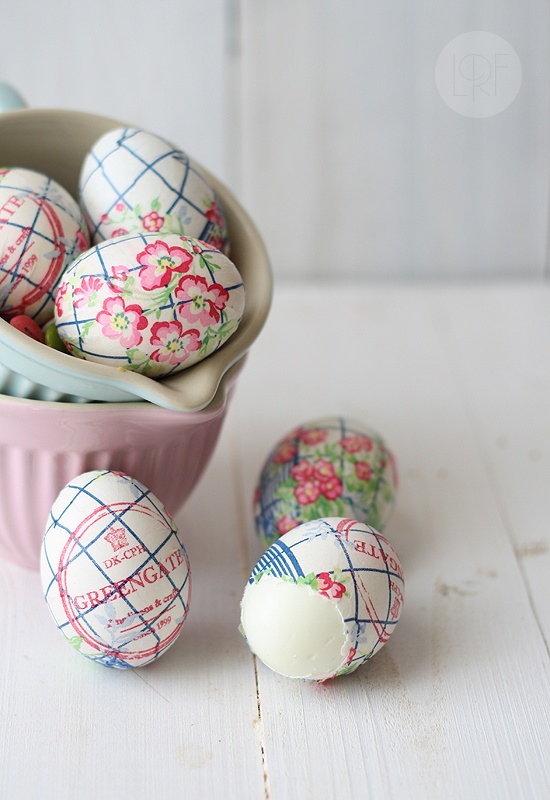
This (dye-free!) idea for decorating your Easter eggs is the best use of your pretty paper napkin collection.
How to decorate Easter eggs with paper napkins:
What do you need
- hard boiled eggs
- paper napkins
- pasteurized egg whites, lightly beaten
Preparation
- Take the napkins and separate printed top layer. Discard lower sheets. Cut every napking into four squares
- Dip brush into the beaten egg whites and apply an square on the front center of the egg . Dip brush into egg whites and gently smooth the napkin from the center out.
- Cut off excess napkin, and let the egg dry on a paper towel.
- For a glossier effect, when dry, wipe the eggs with vegetable oil (using a paper towel)
via www.larecetadelafelicidad.com

