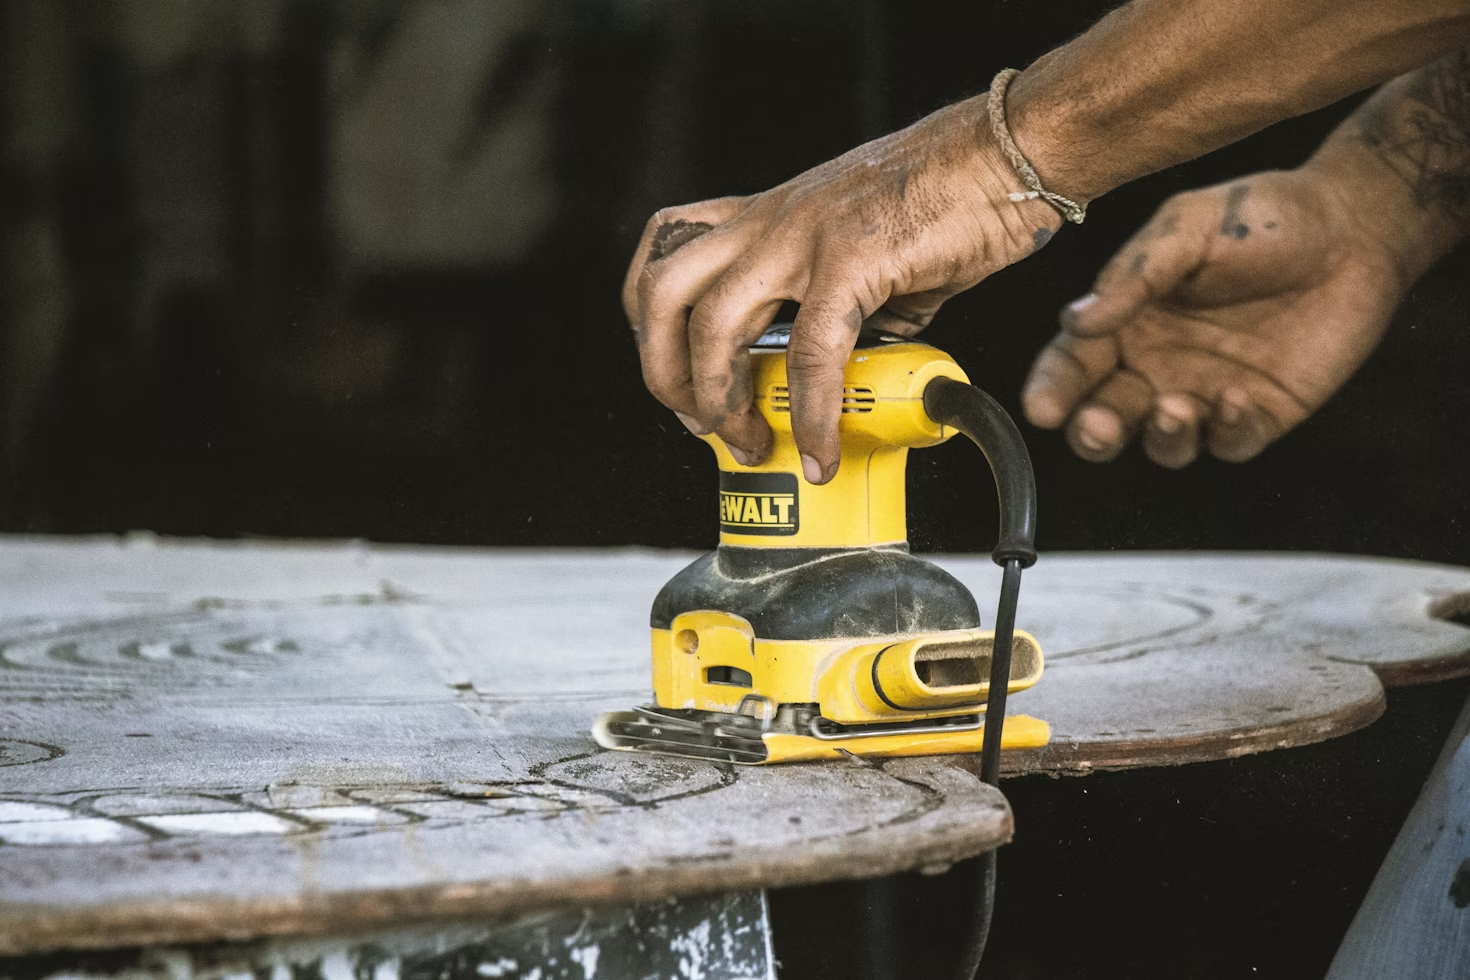
Want to turn your sanding disasters into professional-looking results?
Most weekend warriors think sanding belt replacement is simple. Just swap the old belt for a new one and keep going, right?
Wrong.
Here’s what actually happens when you rush through belt replacement: The belt tracks wrong. Your sander vibrates like it’s about to explode. The belt shreds within minutes. And your project ends up looking like it went through a wood chipper.
But here’s the real kicker…
62% of American homeowners are tackling renovation projects this year. That’s millions of DIYers fighting with power sanders and getting terrible results because nobody taught them the basics.
The good news? Proper belt replacement is dead simple once you know the right technique. And when you pair that knowledge with quality premium Red Label Sanding Belts, you’ll get results that make people think you hired professionals.
What you’ll discover:
- Why Your Current Belt Replacement Method Is Wrong
- The Hidden Cost of DIY Sanding Mistakes
- The 5-Step Belt Replacement Process That Actually Works
- Common Mistakes That Wreck Projects
Why Your Current Belt Replacement Method Is Wrong
Here’s the thing most people don’t realize about sanding belts…
They’re not just pieces of sandpaper wrapped around rollers. They’re precision tools that need to be installed correctly or they’ll wreck your project faster than you can say “do-over.”
Here’s what happens when you get it wrong:
The belt runs off-track and starts shredding. Your sander vibrates so much you can’t control it. The grit falls off because the belt is overheating. You end up with gouges, burns, and uneven surfaces that are nearly impossible to fix.
Most DIYers make the same mistake. They treat belt replacement like changing a light bulb – quick and careless. But sanding belts require precision installation, or they’ll turn your weekend project into a month-long nightmare.
Belt quality matters more than most people think.
Those cheap belts from big box stores? They’re designed for light-duty work. Push them hard and they fall apart. The backing splits. The grit comes off in chunks. And you end up making multiple trips to buy replacements.
Professional contractors don’t mess around with inferior belts. They use quality products that can handle real work without letting them down.
The Hidden Cost of DIY Sanding Mistakes
4 out of 5 people attempting DIY projects make mistakes during the process. When it comes to sanding, most of these mistakes happen during belt replacement.
Here’s what those mistakes actually cost:
- Time:Constantly stopping to deal with belt problems
- Money:Buying replacement belts that shouldn’t have failed
- Results:Uneven surfaces that ruin your final finish
The truth is, most sanding disasters could be avoided with proper belt installation. But the instruction manual in your sander box doesn’t teach you this stuff.
The 5-Step Belt Replacement Process That Actually Works
Ready to replace sanding belts like someone who knows what they’re doing? Here’s the exact process that works every single time:
Step 1: Power Down Completely
This seems obvious, but you’d be surprised how many people skip it.
Turn off the sander. Unplug it from the wall. Wait for it to stop spinning completely.
Safety isn’t negotiable.
Step 2: Release Belt Tension
Every belt sander has a tension release mechanism. Find it and engage it.
This could be a lever, a knob, or a button depending on your sander model. Releasing tension opens up the belt path and makes removal much easier.
If you’re fighting to remove the old belt, you probably missed this step.
Step 3: Remove the Old Belt
With tension released, the old belt should slide off easily.
While you’re at it, check the tracking rollers for debris or damage. Any buildup here will cause problems with your new belt.
Step 4: Install the New Belt Correctly
This is where most people mess up.
Every sanding belt has a direction arrow printed on the inside. This arrow must point in the direction of belt travel, or you’ll get poor performance and premature wear.
Position the belt around both rollers. Make sure it’s centered and straight before moving to the next step.
Step 5: Restore Tension and Test
Re-engage the tension mechanism and plug in your sander.
But don’t start working immediately.
Turn on the sander and let it run for 30 seconds without touching anything. Watch how the belt tracks. It should run straight and centered.
If the belt drifts to one side, use the tracking adjustment (most sanders have one) to bring it back to center.
Common Mistakes That Wreck Projects
Here are the biggest belt replacement mistakes that turn good projects into disasters:
Mistake 1: Wrong Grit Progression
You can’t jump from 60-grit straight to 220-grit and expect good results.
Skip too many grits and you’ll spend forever trying to remove the deep scratches from the coarse paper. Follow the progression: 60, 80, 100, 120, 150, 220.
Mistake 2: Too Much Pressure
Belt sanders are powerful machines. Let them do the work.
Pressing down hard just overheats the belt, creates gouges in your material, and wears out the sandpaper faster.
Mistake 3: Staying in One Spot
Keep that sander moving at all times.
Even a few seconds in one place can create a depression that’s nearly impossible to sand out. Constant motion is the key to even results.
Mistake 4: Installing Belts Backwards
Those direction arrows aren’t suggestions.
Install a belt backwards and you’ll get poor cutting action, excessive heat buildup, and shortened belt life.
Choosing the Right Belt for Each Job
Not all sanding belts are created equal. Here’s what you need to know:
Heavy Material Removal: 60-80 grit handles aggressive stock removal without destroying your sander.
General Smoothing: 100-120 grit smooths surfaces without being overly aggressive.
Fine Finishing: 150-220 grit creates that glass-smooth surface before staining or clear coating.
But grit size is only part of the equation…
Belt material matters just as much. Aluminum oxide works great on wood. Zirconia lasts longer on hardwoods. Ceramic handles the toughest jobs.
Pro Tips That Make a Difference
Want to get more life from your belts and better results from your sander?
Clean Your Belts Regularly: Use a belt cleaning stick to remove pitch buildup. Clean belts cut better and last longer.
Store Belts Properly: Don’t toss them in a drawer. Store belts flat or hanging to prevent cracking and warping.
Match Speed to Material: Softer woods need slower speeds. Harder materials can handle full power.
Use Dust Collection: Dust clogs belts and kills performance. Connect a shop vacuum whenever possible.
When to Replace Your Belt
How do you know when it’s time for a new belt?
Watch for these signs:
The grit looks worn and shiny. There are tears or holes in the backing. The belt isn’t cutting like it used to.
Don’t try to squeeze extra life from worn belts. You’ll waste time and potentially damage your project.
The YouTube Factor
Here’s something interesting: 43% of DIYers use YouTube as their primary source for project information.
That’s actually smart thinking.
Video tutorials show you exactly how your specific sander works. But guides like this give you the foundational knowledge to understand what you’re seeing.
The combination is powerful. You get visual step-by-step from video plus the deeper understanding that comes from reading about why each step matters.
Wrapping It Up
Proper sanding belt replacement isn’t complicated, but it does require attention to detail.
The five-step process outlined here will save time, money, and frustration on every project. Remember to choose quality belts, follow proper grit progression, and let the tool do the work.
Most importantly, don’t rush the process. Taking an extra minute to install the belt correctly saves hours of fixing mistakes later.
Master belt replacement, and join the ranks of DIYers who get professional results without the professional price tag.
