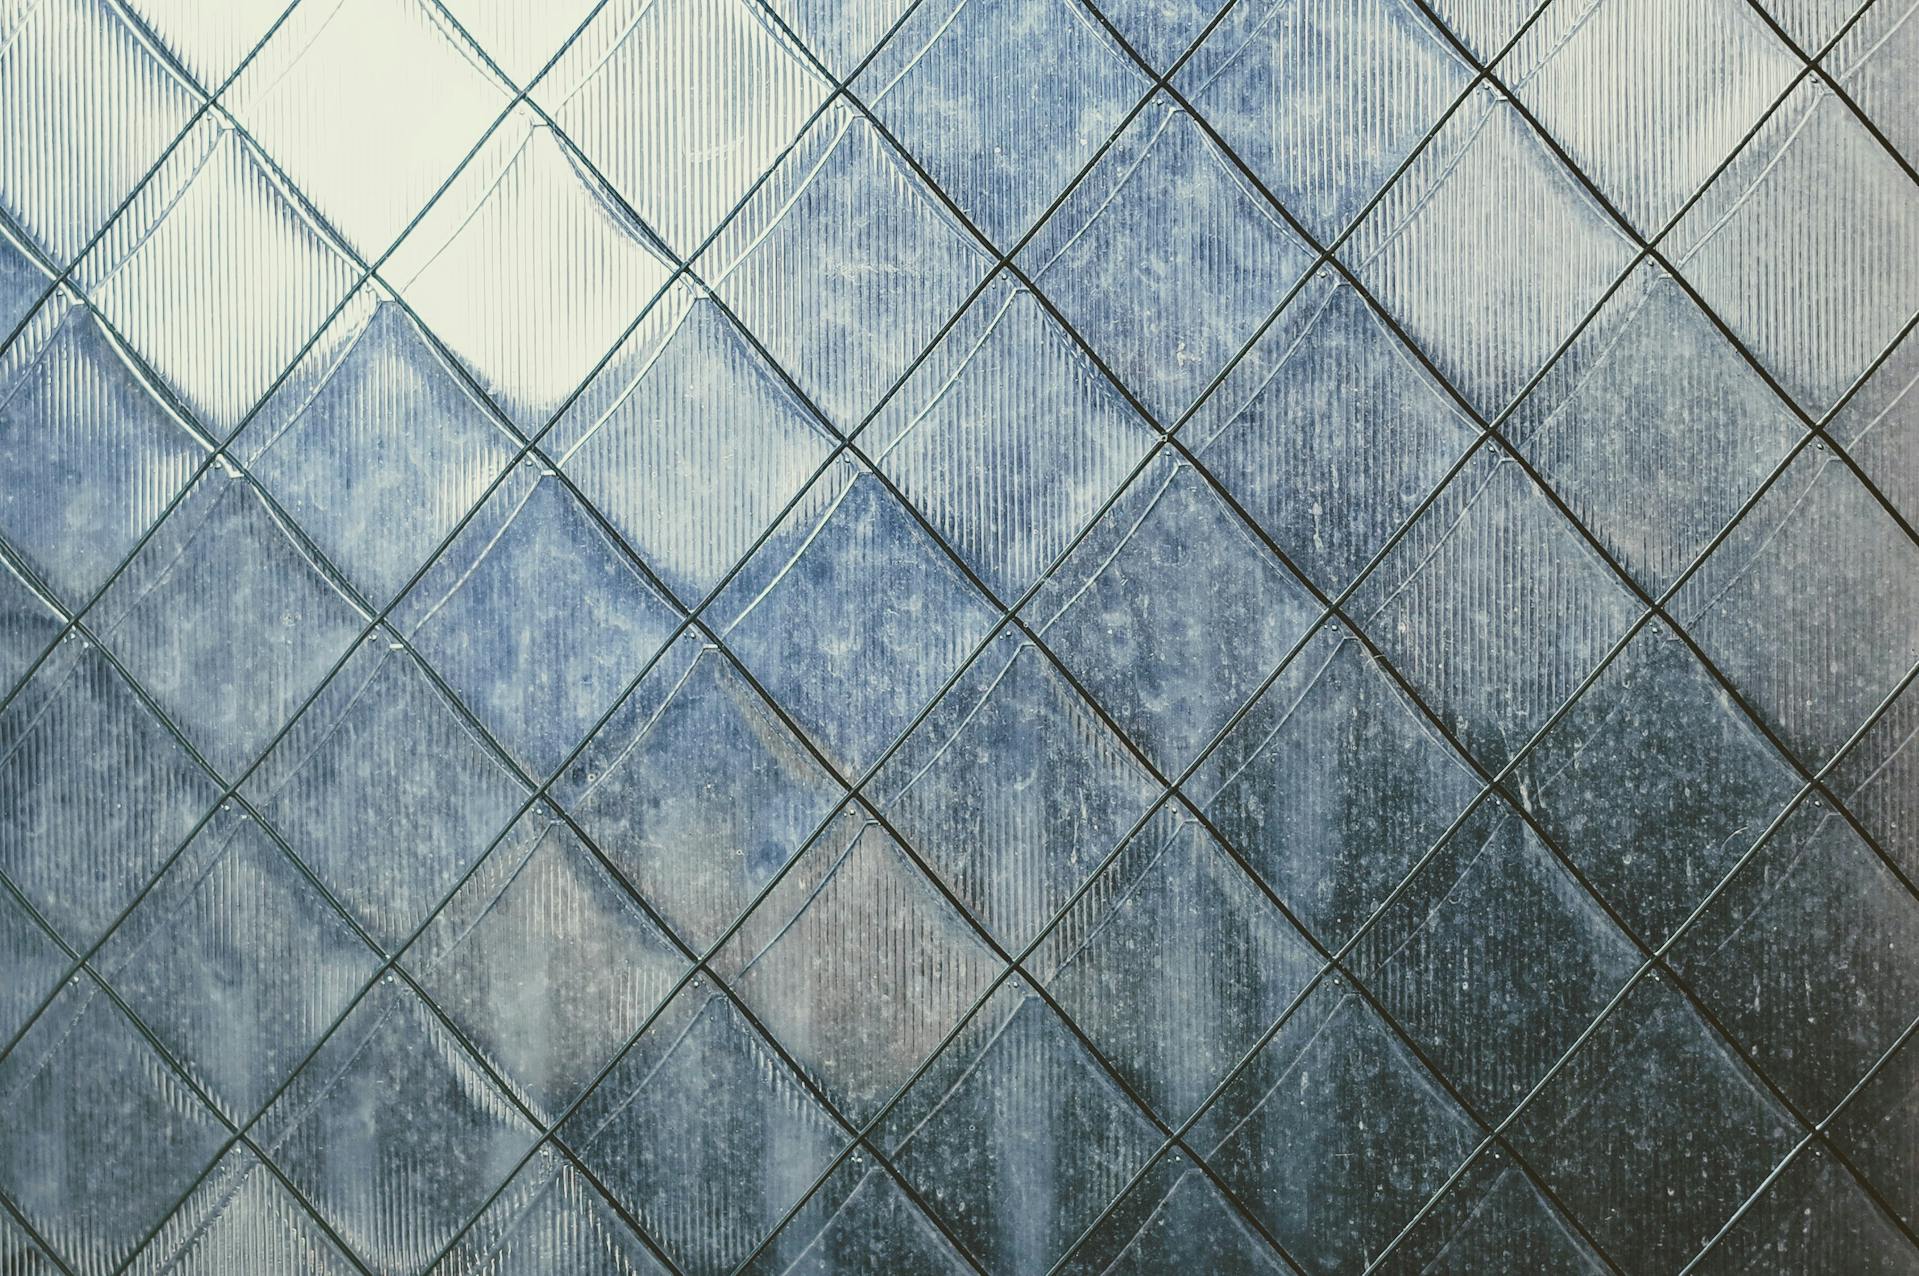
Transforming your ceiling with metal tiles can elevate the entire aesthetic of a room. The shimmering finish and intricate designs of tin ceiling tiles offer a distinctive look that captivates attention and adds a sense of sophistication.
However, the process of choosing and installing these tiles can feel overwhelming without the right guidance. Understanding the various types of metal tiles available, their benefits, and the installation process will help you make informed decisions that lead to a stunning ceiling. Keep on reading to learn more.
Why Choose Metal Tiles?
Metal tiles are fast becoming a go-to option for homeowners looking to refresh their ceilings. Available in various styles and finishes, they offer benefits that traditional materials can’t match. Metal tiles are not only durable but also resistant to wear and tear, making them perfect for high-traffic areas. Additionally, these tiles are easy to clean, ensuring your ceilings look pristine with minimal upkeep.
Another advantage is their versatility. They can fit seamlessly into various design styles, from classic vintage to modern industrial aesthetics. For example, tin ceiling tiles have a nostalgic charm that enhances rustic spaces while high-gloss aluminum can add a sleek touch to contemporary rooms.
Choosing the Right Metal Tiles
Before diving into installation, it’s essential to select the right metal tiles for your specific needs. Here are some key factors to consider:
Material
Common materials for metal ceiling tiles include aluminum, brass, and tin. Aluminum is a popular choice because it’s lightweight, rust-resistant, and easy to install, making it especially useful in high-humidity areas like bathrooms and kitchens. Tin gives a traditional, antique appearance that works well in classic or vintage-style rooms. Brass, on the other hand, adds a warm, golden tone that can make a space feel rich and luxurious.
Style
The style of your metal ceiling tiles should reflect the overall aesthetic of the room. If you’re going for a vintage or traditional feel, embossed tin tiles with ornate designs can add elegance and character. For a more modern or industrial space, consider smooth or geometric tiles that offer clean lines and minimalism. Always think about how the ceiling design complements your furniture and decor.
Finish
The finish of the tile can change the entire mood of the room. A polished or mirrored finish reflects light, brightening up the space and adding a sleek, sophisticated feel. Brushed or matte finishes absorb more light, offering a subtle and modern appearance that works well in understated, contemporary settings. Finishes can also affect how well the tiles hide dust or imperfections over time.
Size
Tile size plays a big role in the final visual effect of the ceiling. Large tiles can create bold statements and are often easier and faster to install in wide-open spaces. Smaller tiles are ideal for intricate patterns or borders and can give the ceiling more visual texture. Think about the size of the room and ceiling height to find a balanced, proportional look.
Measuring Your Ceiling
Once you’ve decided on the metal tiles, accurate measurements of your ceiling are crucial. Start by using a tape measure to determine the length and width of the ceiling area you plan to cover. Multiply these two numbers to calculate the total square footage.
Next, consider the size of the metal tiles you’ve chosen. If each tile covers exactly one square foot, then the number of tiles you need will match your total square footage. However, if your tiles are larger or smaller than one square foot, you’ll need to adjust your calculations accordingly to ensure full coverage.
Preparing for Installation
Before installing metal tiles, prepare your ceiling by cleaning and ensuring it is level and dry. Remove any old materials or obstructions that may interfere with the installation.
You might also want to apply a coat of primer for better adhesion, especially in spaces prone to moisture. Gather all necessary tools and materials. This typically includes:
- Metal tiles
- Adhesive suitable for metal
- Notched trowel
- Utility knife
- Protective gear (gloves and goggles)
Installation Steps
Now that you’re prepared, there are steps to follow in order to install your metal tiles properly. Here’s what you need to know:
Plan Your Layout
Consider the layout of your tiles. Starting from the center of the ceiling can create a balanced look. Use a chalk line to mark guidelines for tile placement.
Apply Adhesive
Use a notched trowel to apply adhesive to both the back of the tile and the ceiling. This helps ensure a secure bond. Be sure to follow the adhesive manufacturer’s instructions regarding drying times.
Place the Tiles
Begin placing your tiles according to your layout, starting from the center and working your way outward. Gently press each tile into place and wipe away any excess adhesive promptly.
Cut Tiles as Needed
Use a utility knife to cut tiles to fit along the edges or around any fixtures. Take your time to ensure clean edges for a polished look.
Allow to Cure
After all tiles are placed, allow the adhesive to cure completely. Depending on the adhesive, this might take several hours to a whole day.
Maintaining Your Metal Ceiling Tiles
Unlike traditional ceiling materials, metal tiles require minimal maintenance, making them an attractive option for many homeowners. To keep them looking new, it’s important to follow a few simple care steps.
Start by regularly dusting the tiles with a soft cloth to prevent the buildup of dirt and debris. When deeper cleaning is needed, use a gentle mixture of mild soap and water applied with a non-abrasive sponge to avoid scratching the surface. It’s also essential to steer clear of harsh chemicals, as these can damage the finish and reduce the longevity of your metal tiles.
The Final Touches
Once installed, consider accessorizing your space to enhance the unique appeal of your metal ceiling. Pendant lights, vintage ceiling fans, or decorative beams can draw attention to your new ceiling and tie the room’s decor together. Thoughtful lighting can also enhance the reflective quality of the metal tiles, creating depth and character.
Enjoy Your Unique Ceiling Look
Choosing and installing metal tiles is a rewarding way to transform any room. By understanding the selection process and installation steps, you can achieve a stunning ceiling that stands out. The allure of metal tiles, especially classic options like tin ceiling tiles, enhances the charm of your home while providing durability and easy maintenance. When you’re ready to get started, embrace your creativity and enhance your living space with this unique design element.
For more related topics, check out the rest of our blog!
